
Widget Customization Guide
Complete guide to customizing chat widgets in Anyreach, including appearance, colors, positioning, and more
In this tutorial, we'll explore the widgets area and learn how to customize chat widgets.
- 1
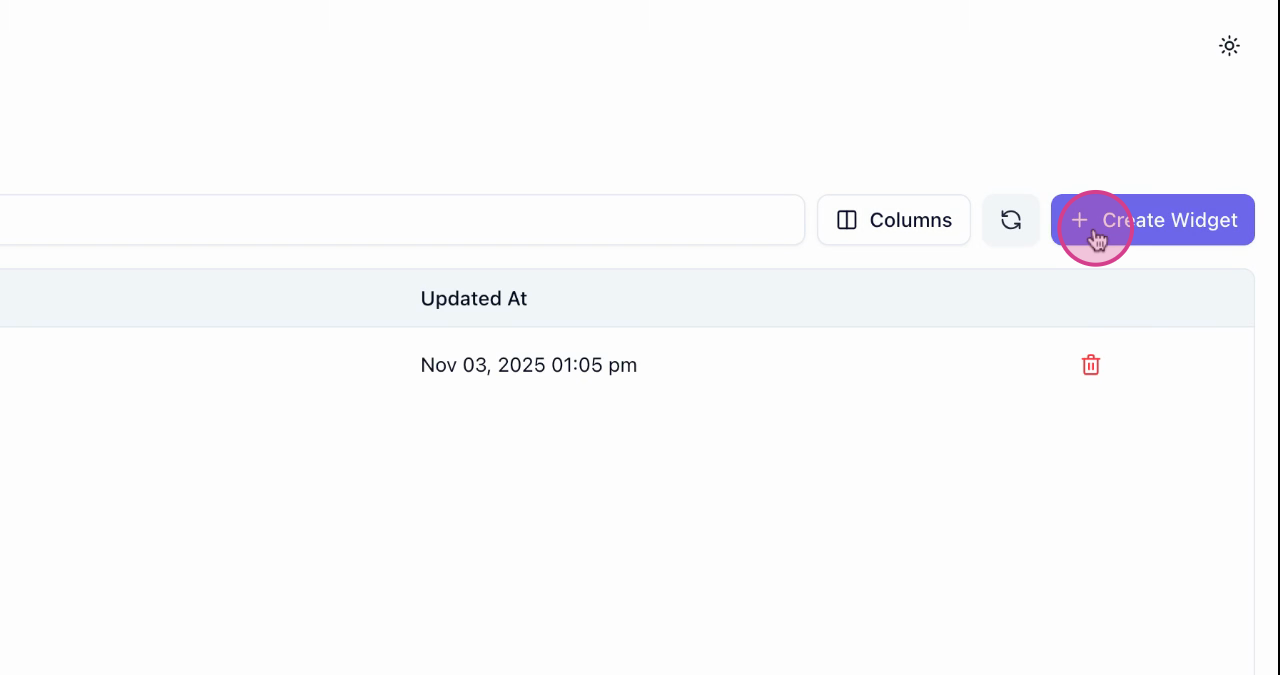
Navigate to Widgets View
Navigate to the widgets view to see all the chat widgets you've created.
- 2
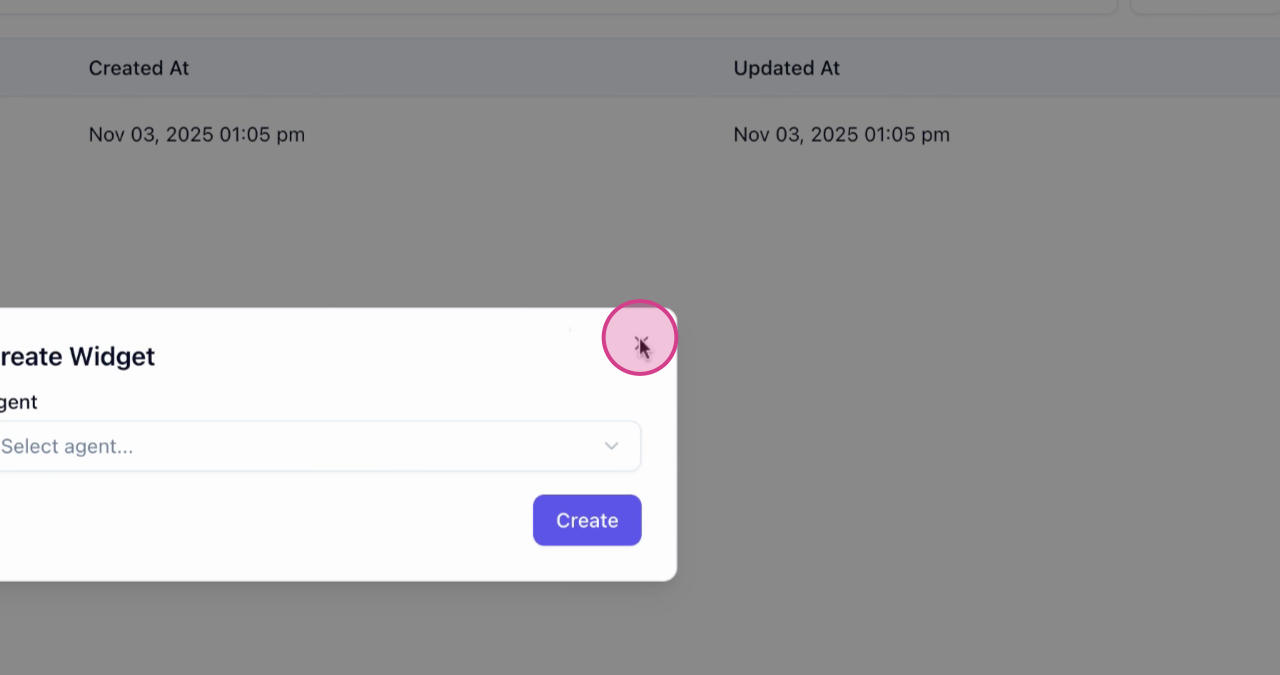
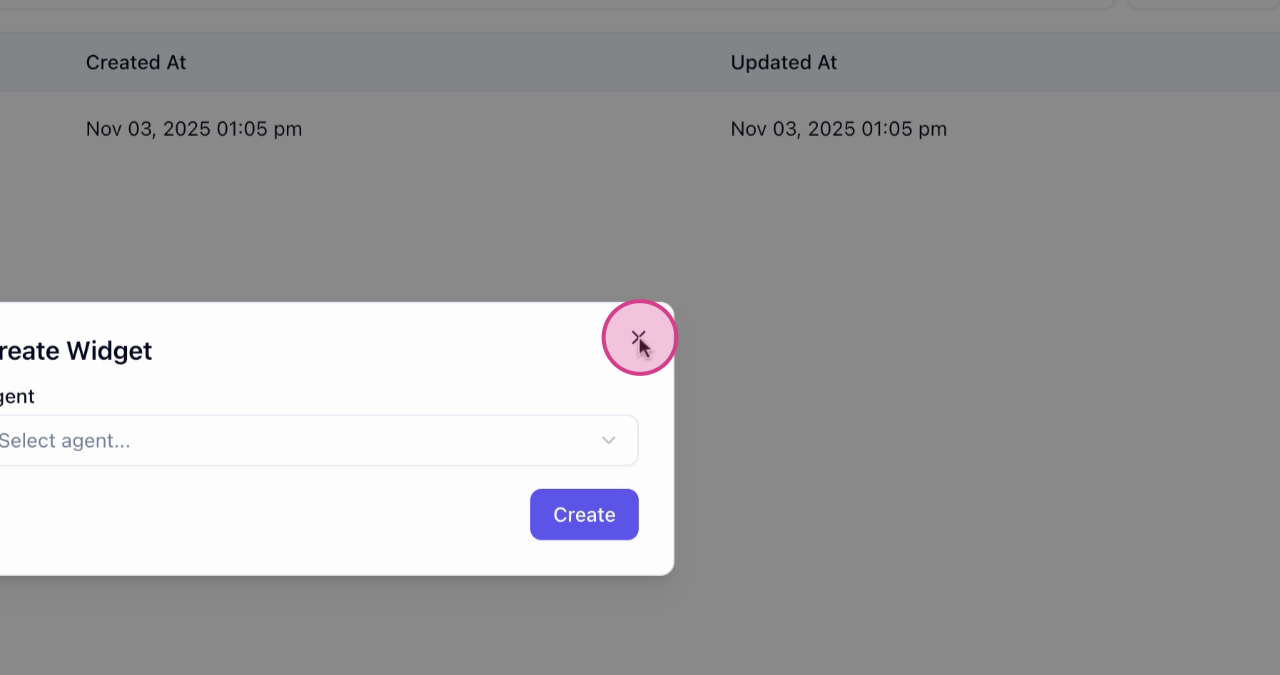
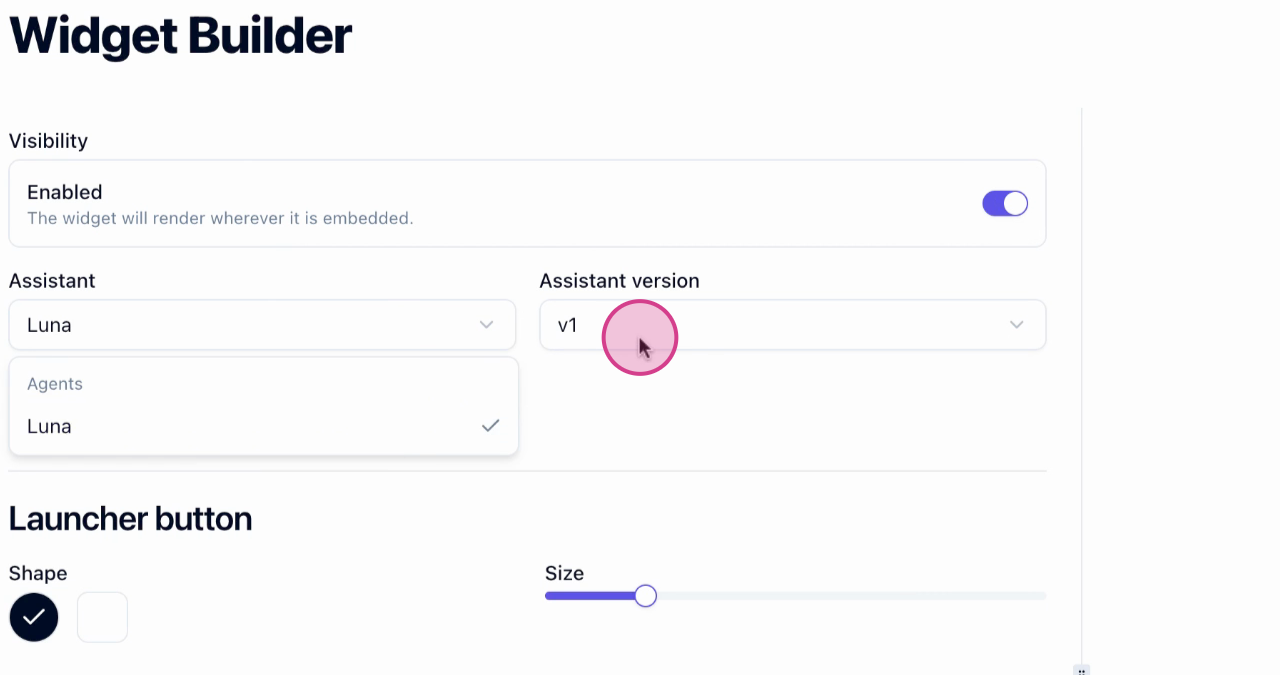
Select Agents for New Widget
To create a new widget, select the agents. In this example, we're using Luna who already has a widget.
- 3
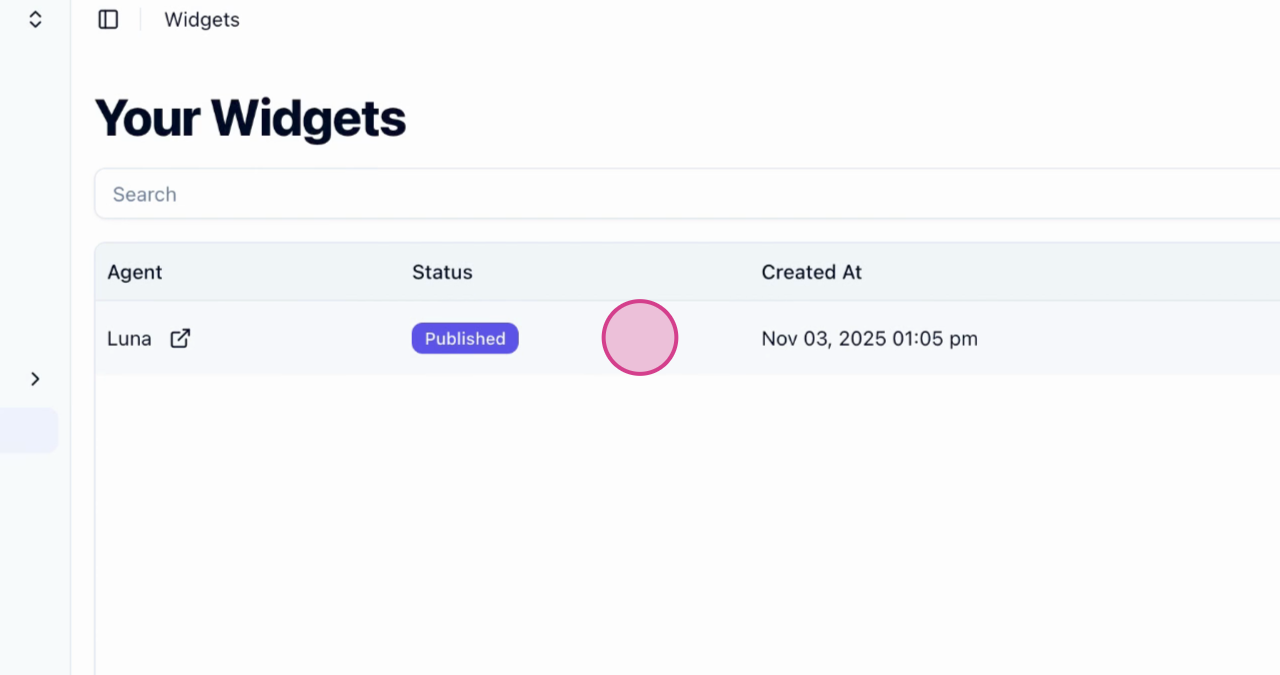
Access Widget View
Click on the widget row to access the widget view.
- 4
Customize Widget Visibility
In the widget view, customize the widget chat and change its visibility. If the widget is installed on your website and you want to hide it, simply toggle the visibility option.
- 5
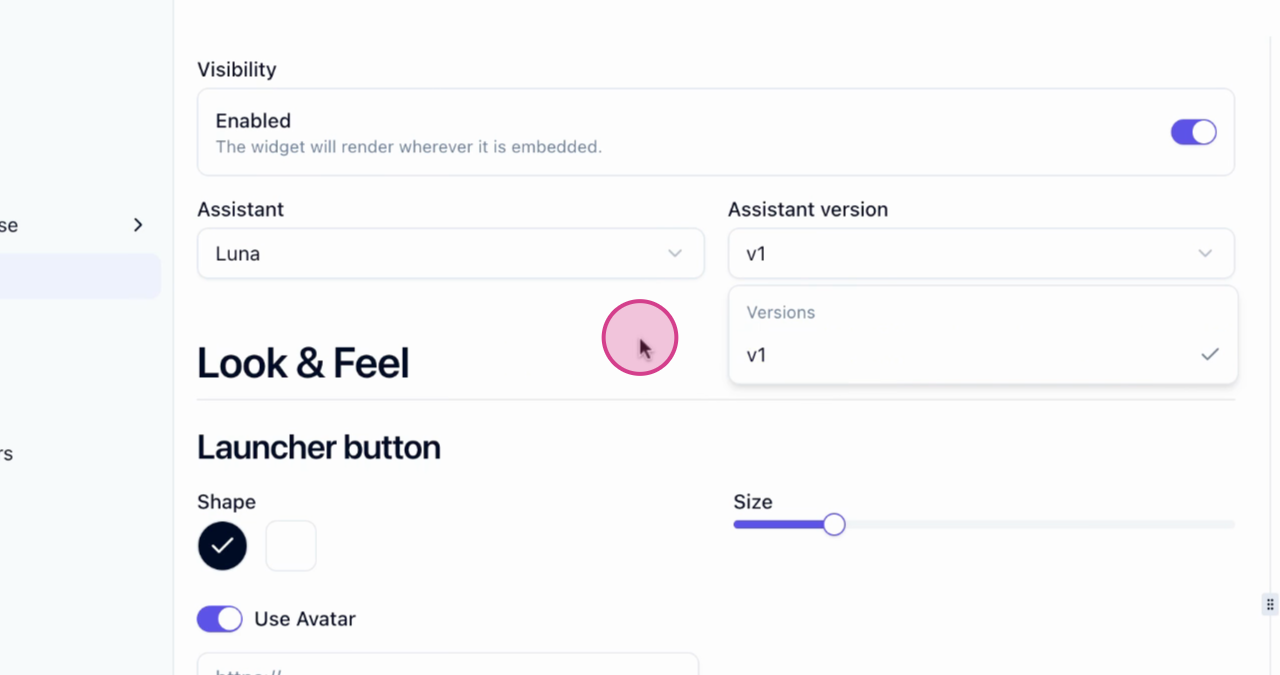
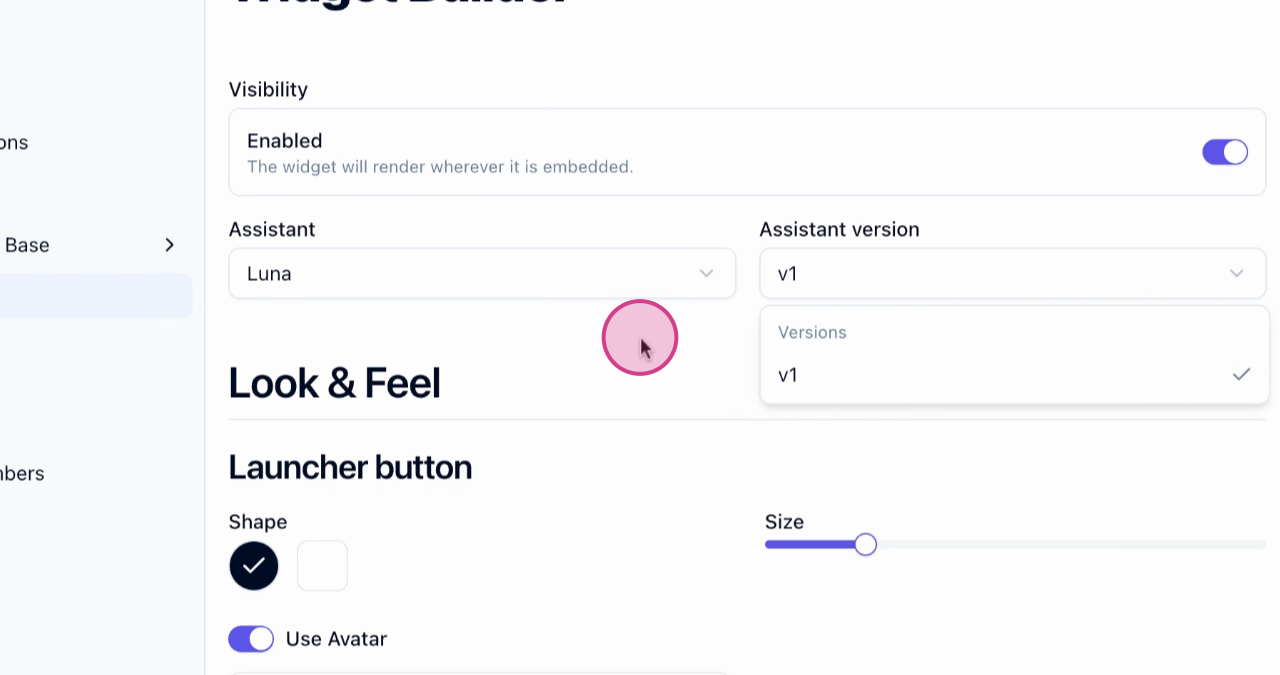
Select Agents and Versions
Select the agents and their versions to keep your widget up-to-date.
- 6
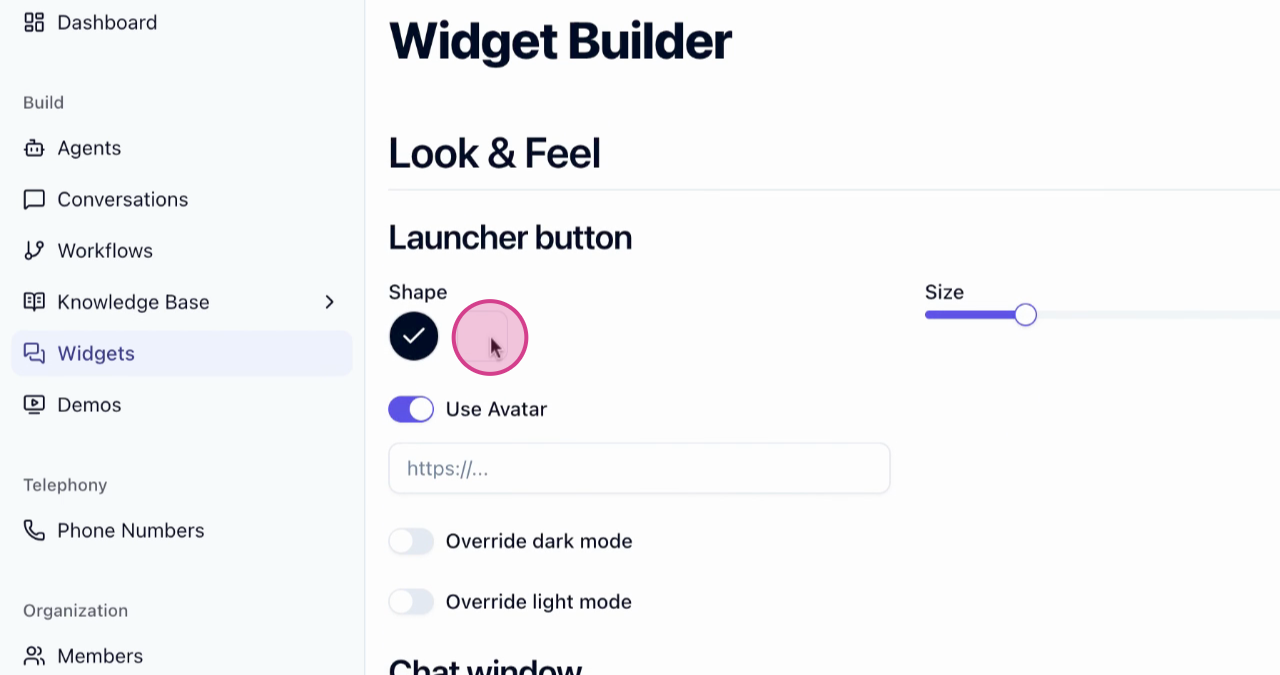
Customize Look and Feel
Customize the look and feel of your widget.
- 7
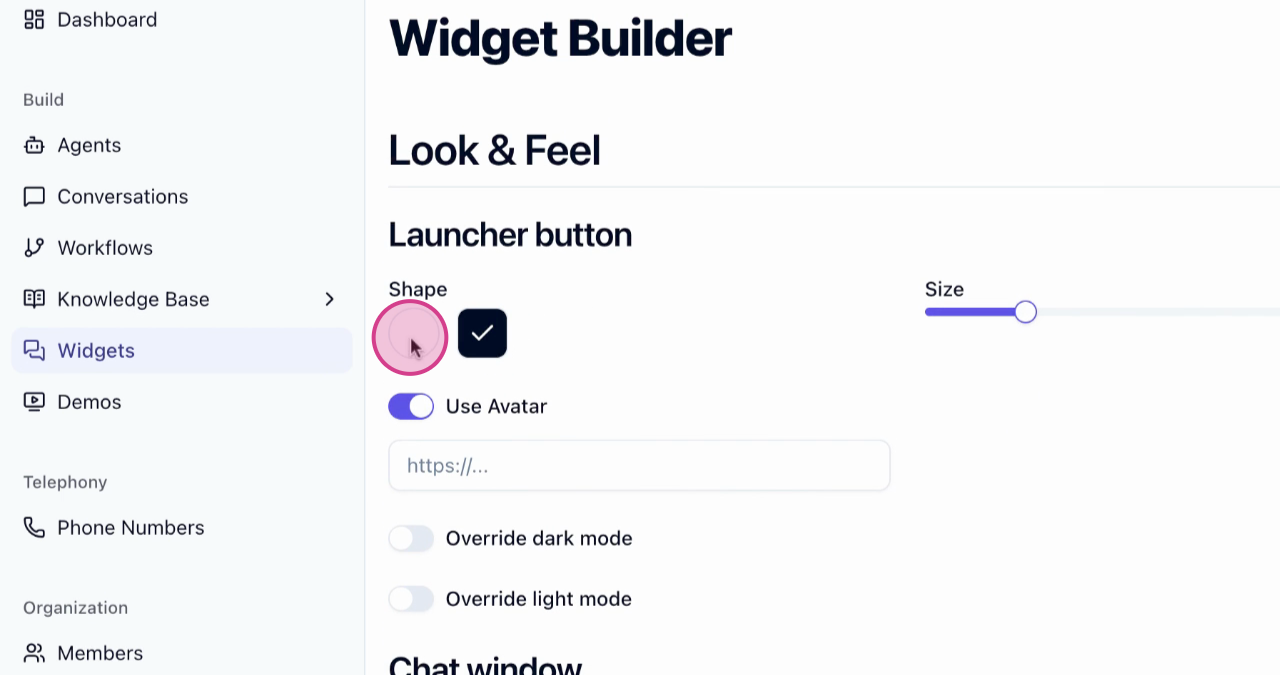
Change Widget Button Shape and Size
Change the shape and size of the widget button.
- 8
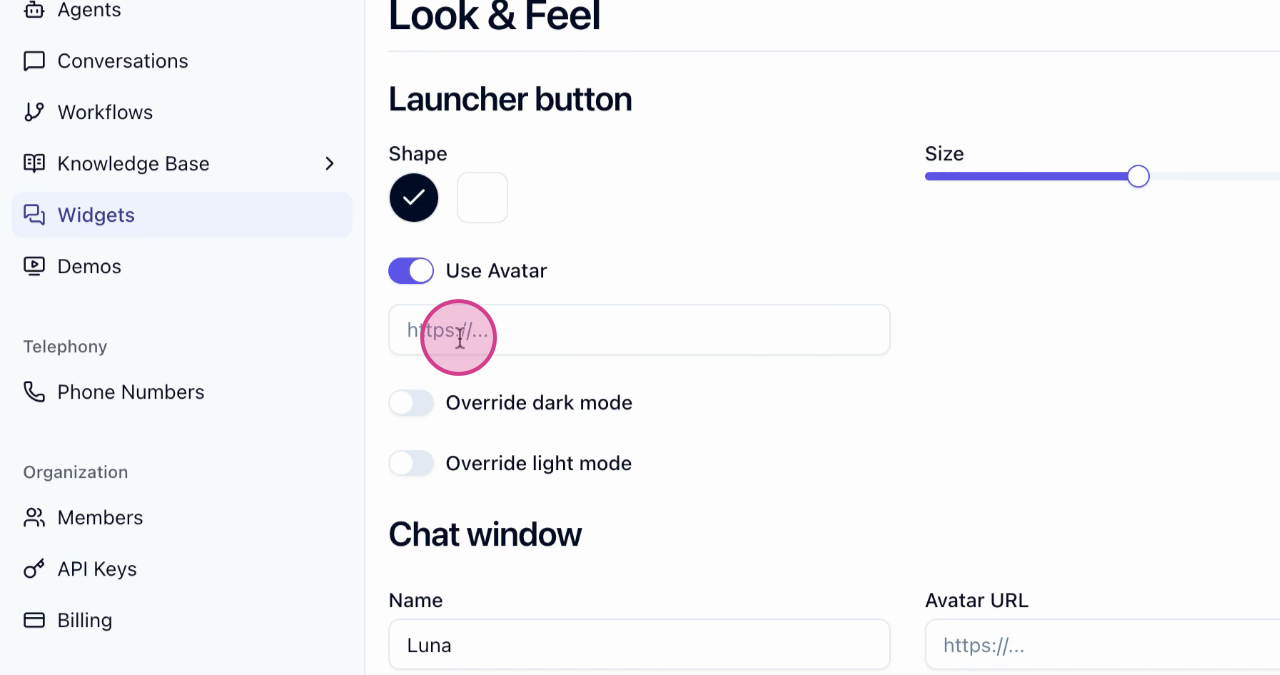
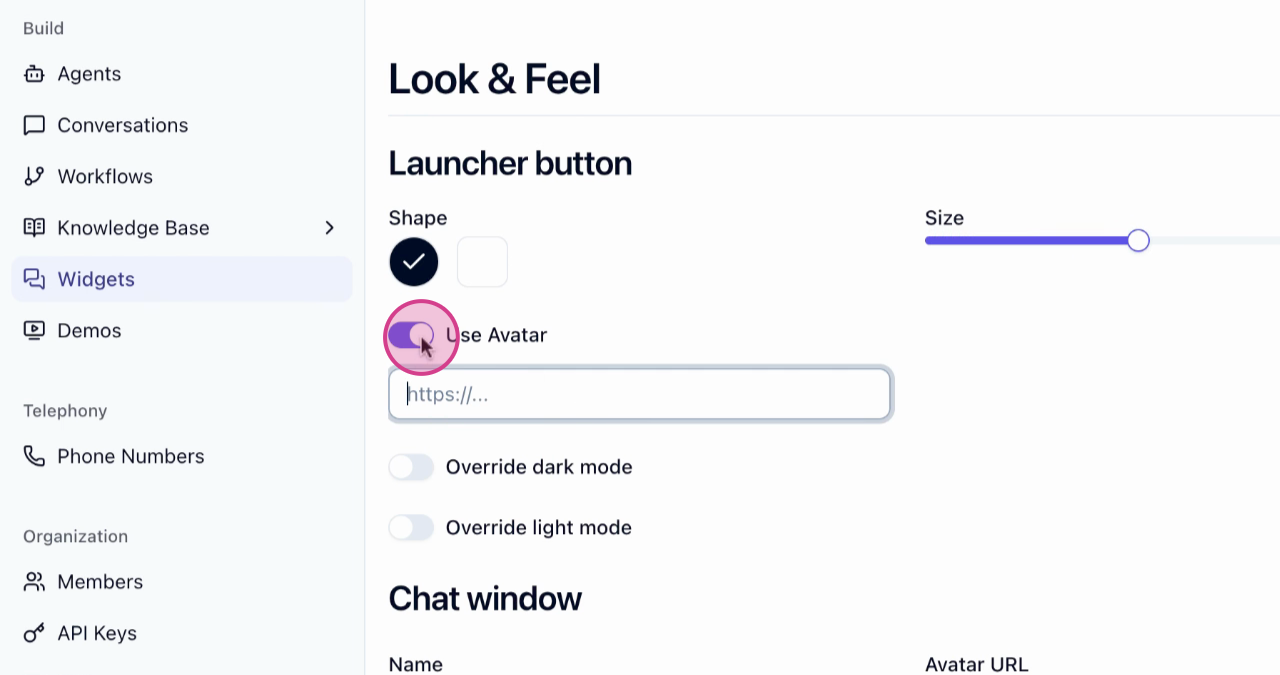
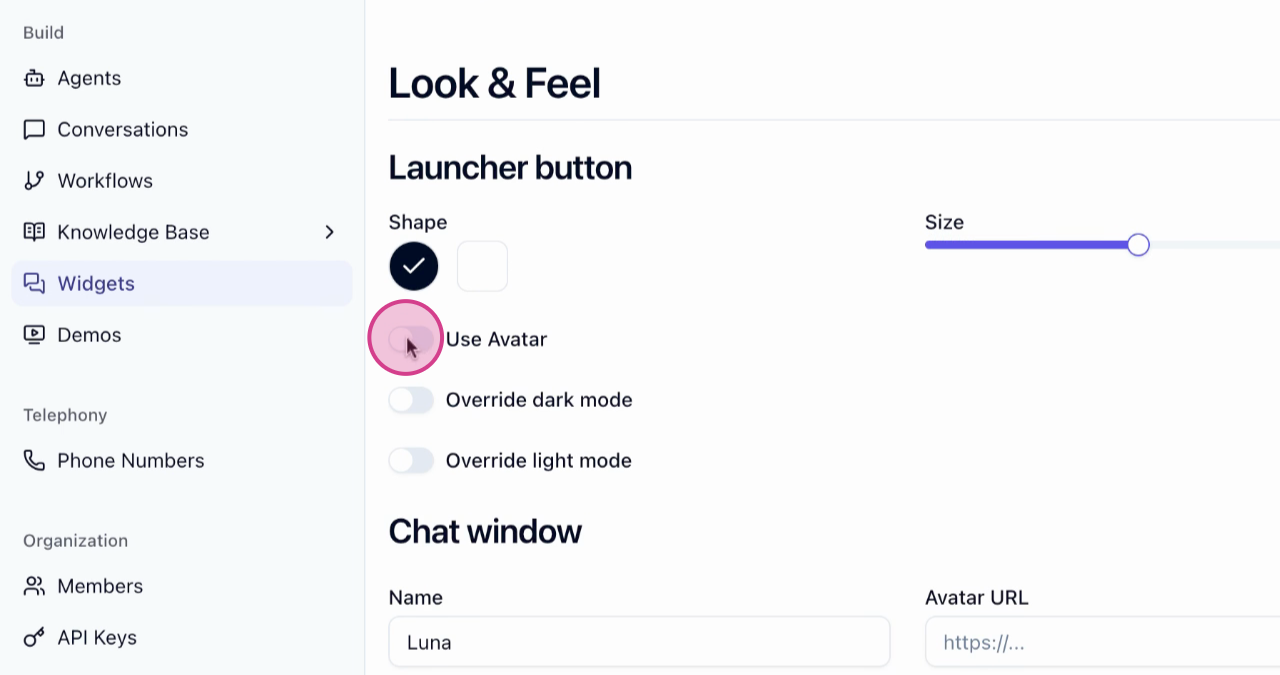
Select Widget Avatar
Select an avatar for your widget.
- 9
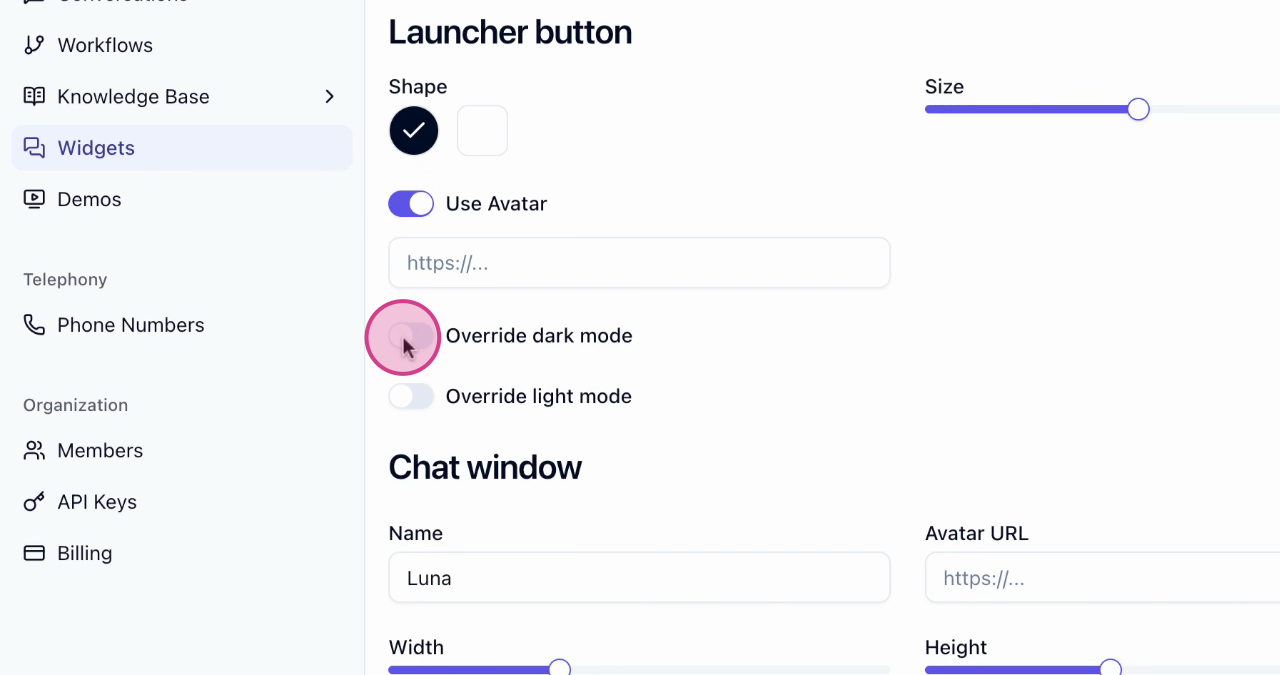
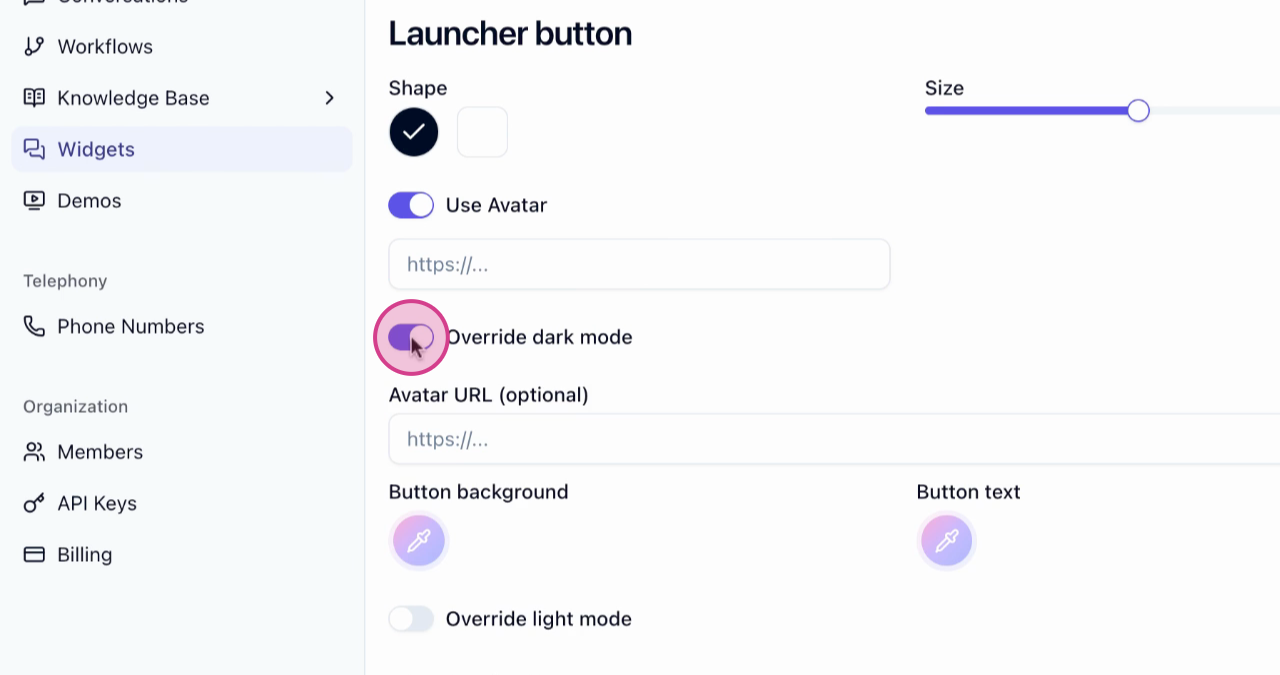
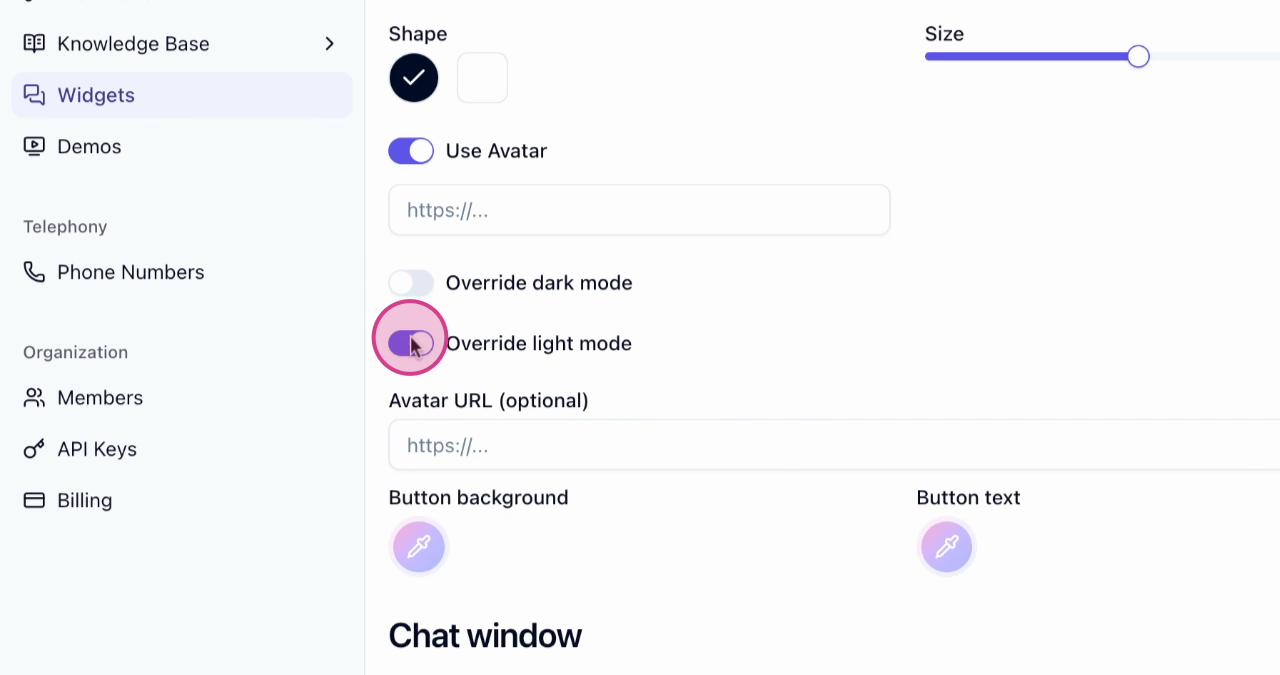
Override Dark and Light Modes
Override the dark and light modes if you have different logos for each.

- 10
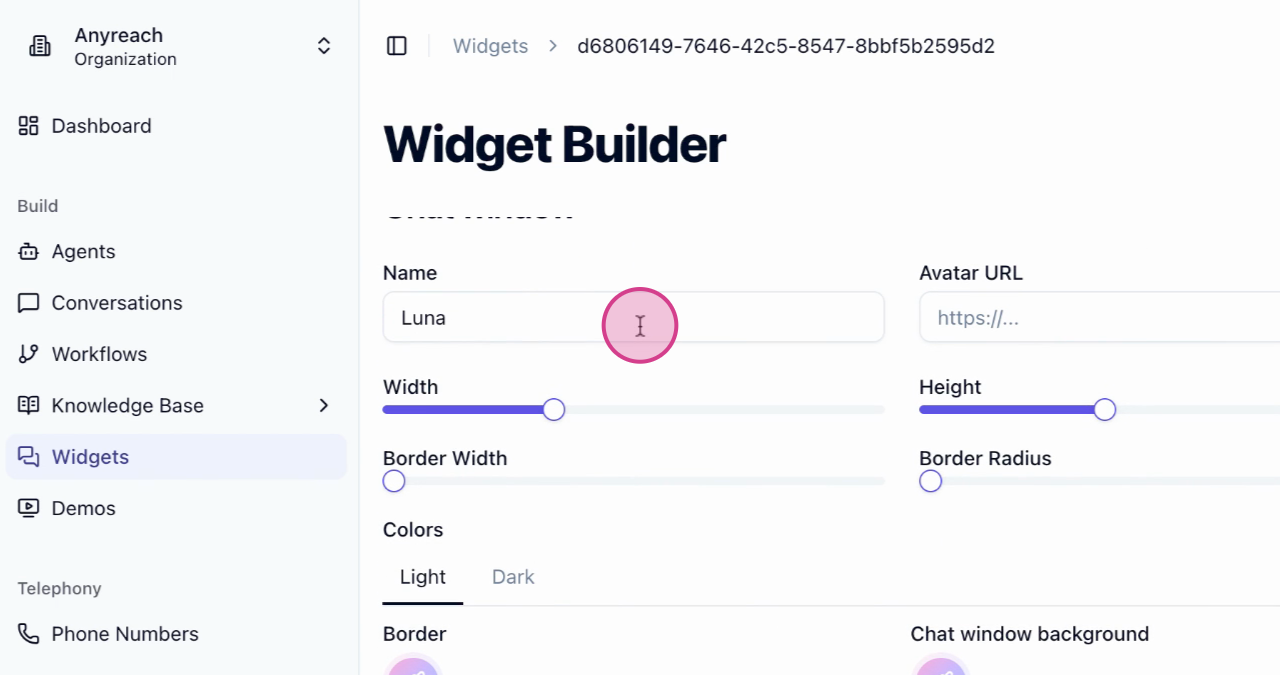
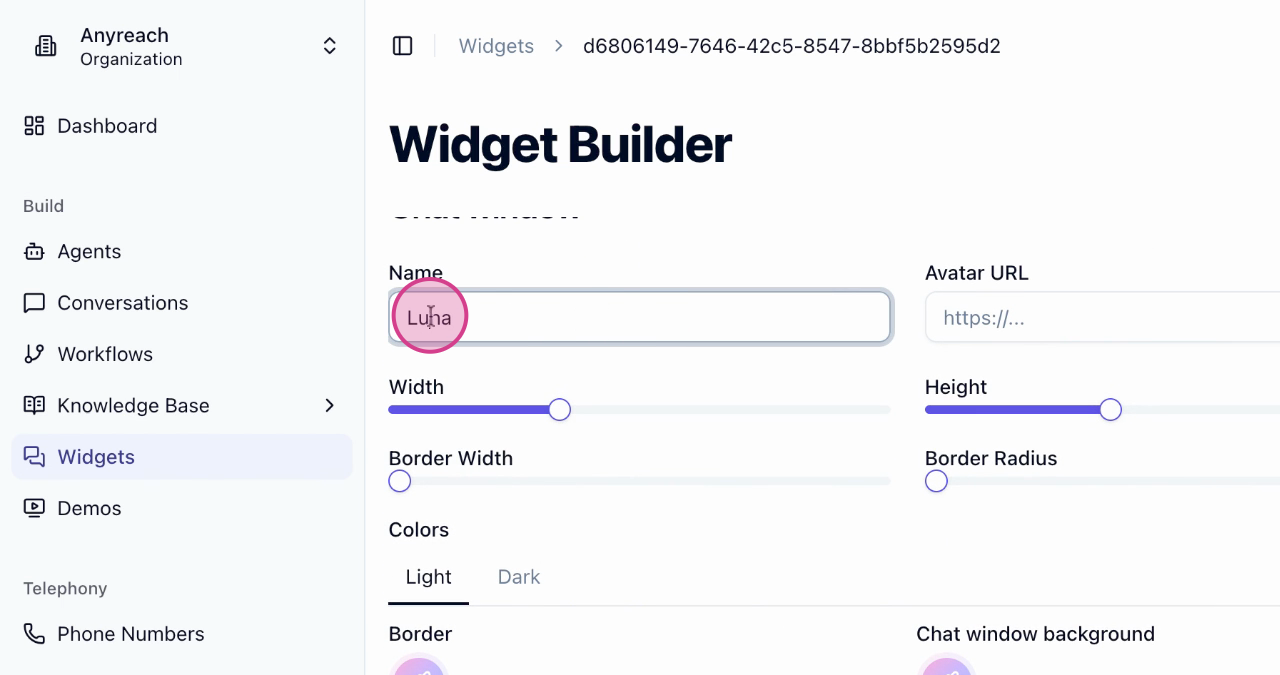
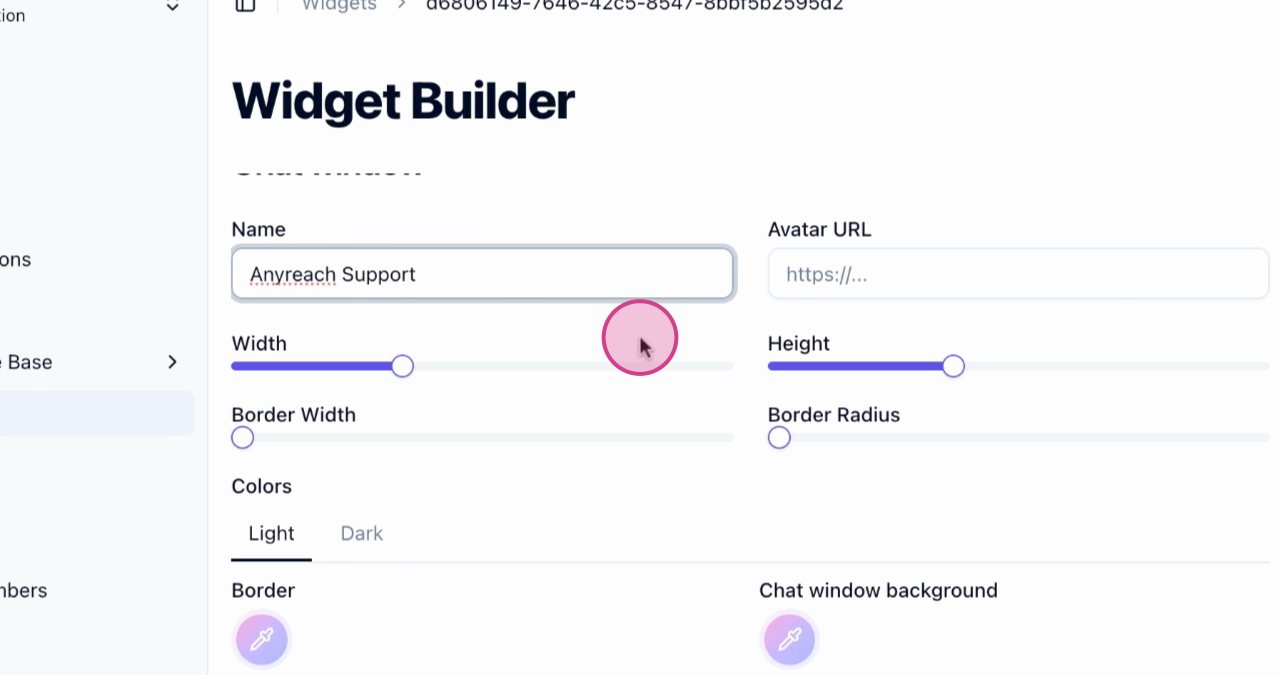
Customize Chat Window
Customize the chat window. Change the name to match your brand, adjust the window height, border radius, and border width.
- 11
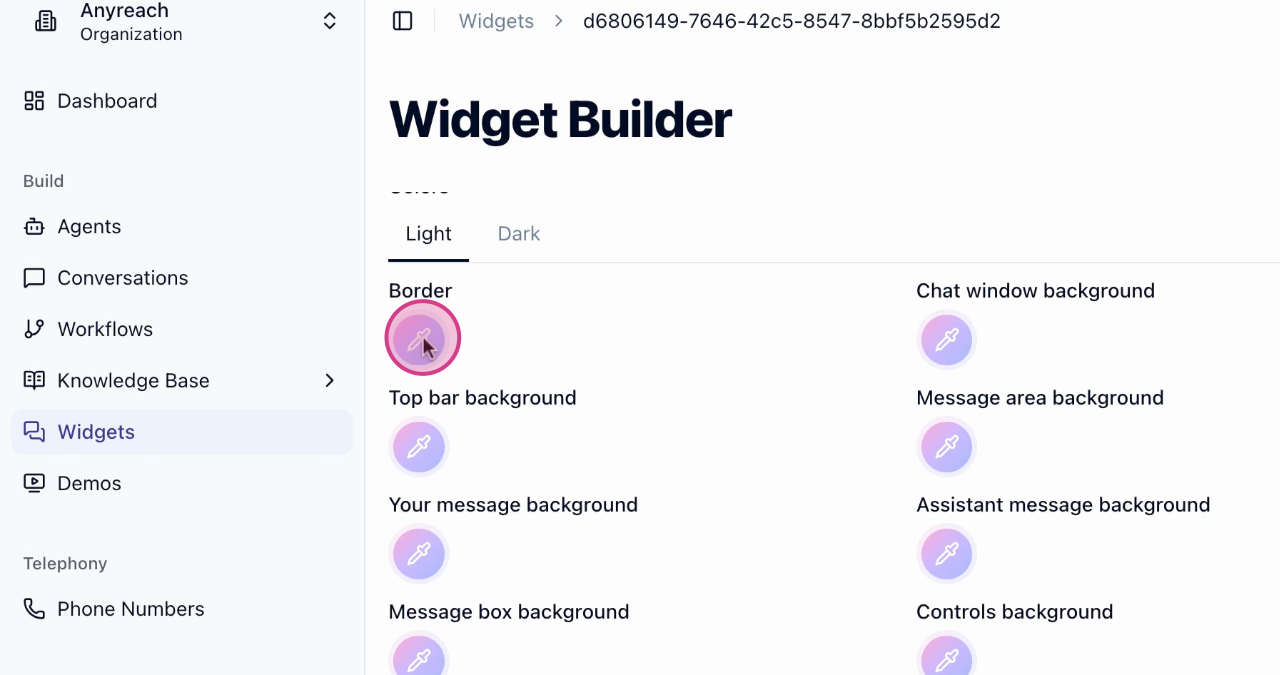
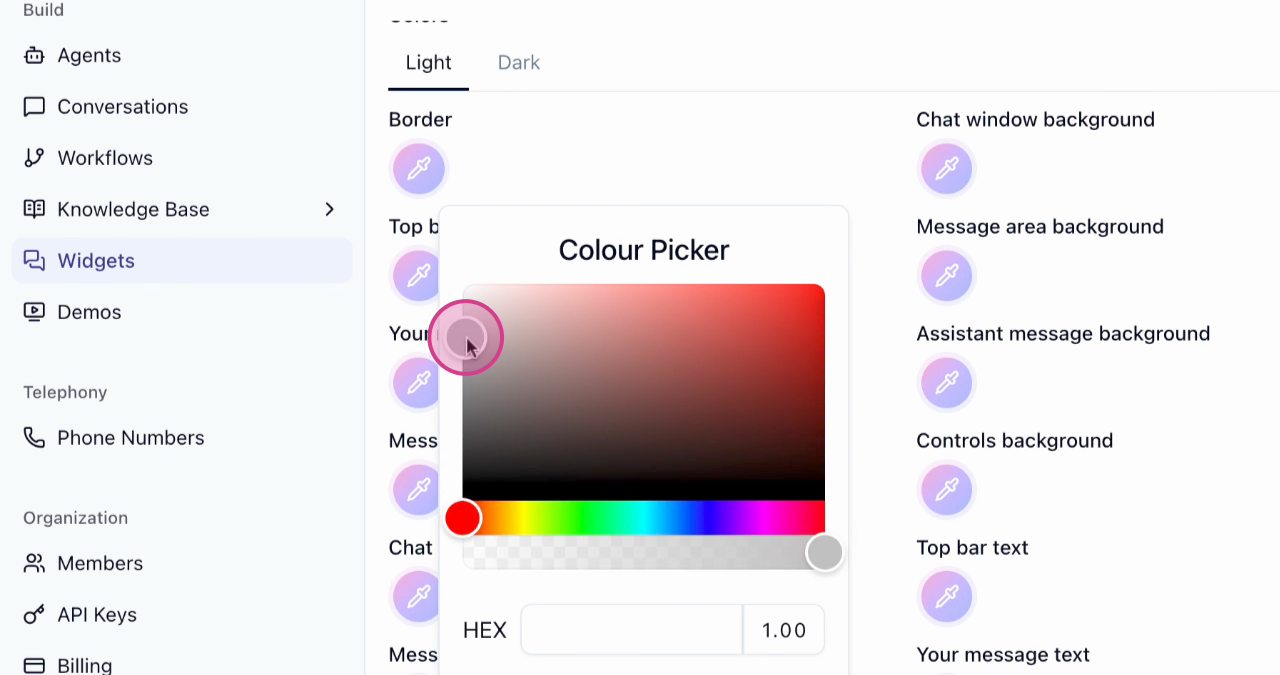
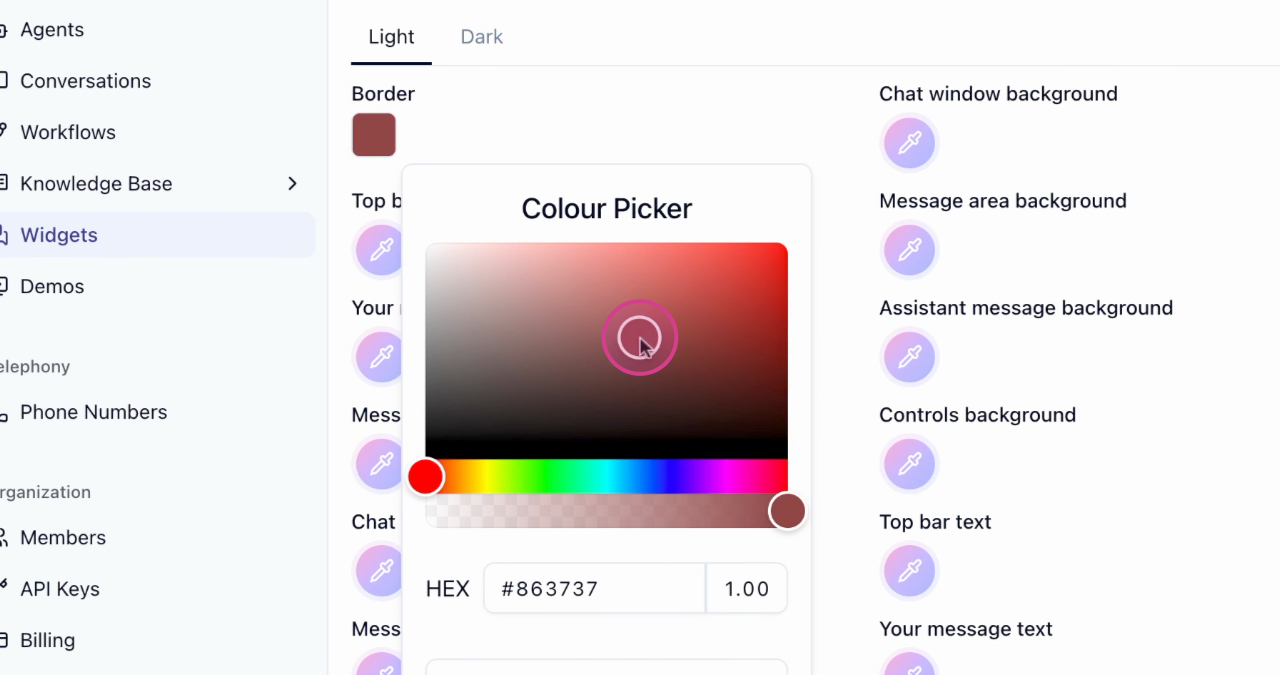
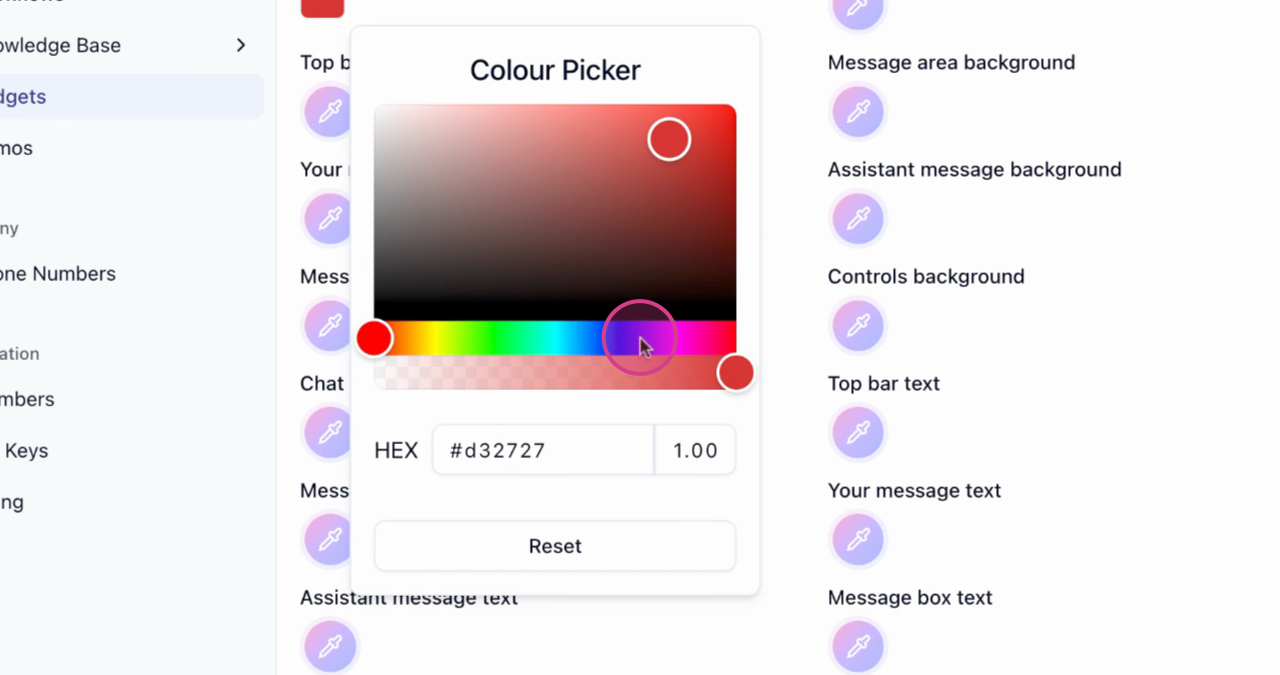
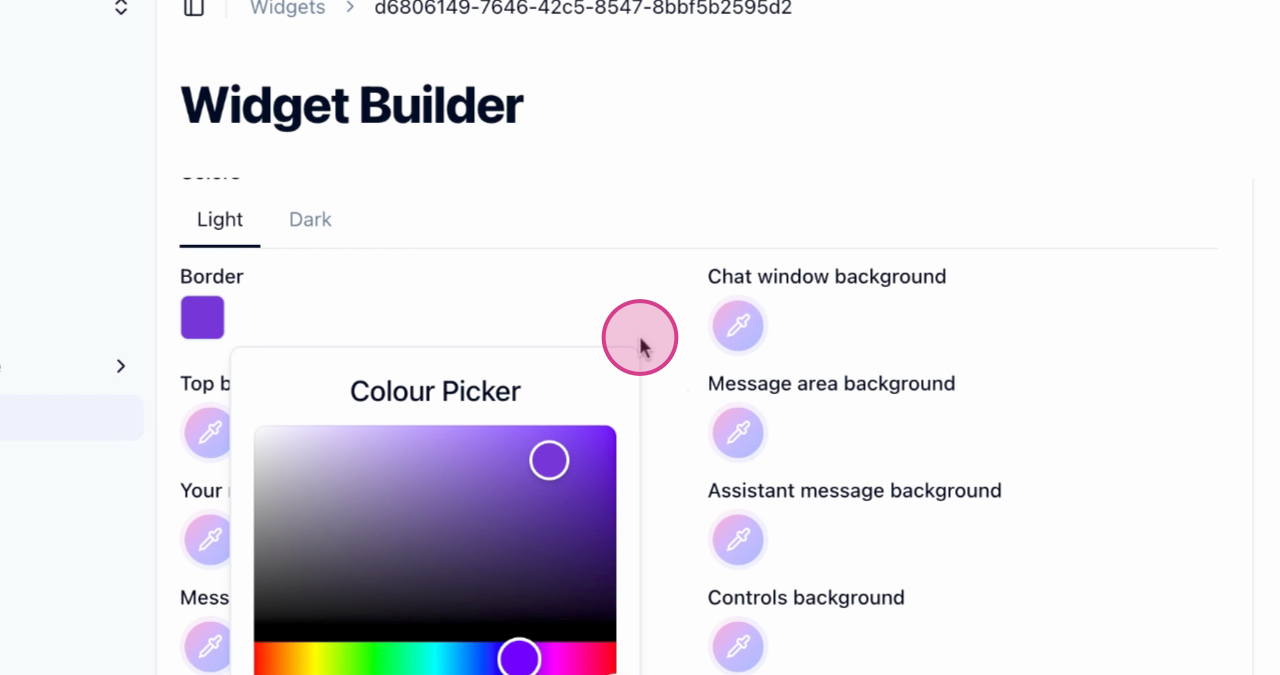
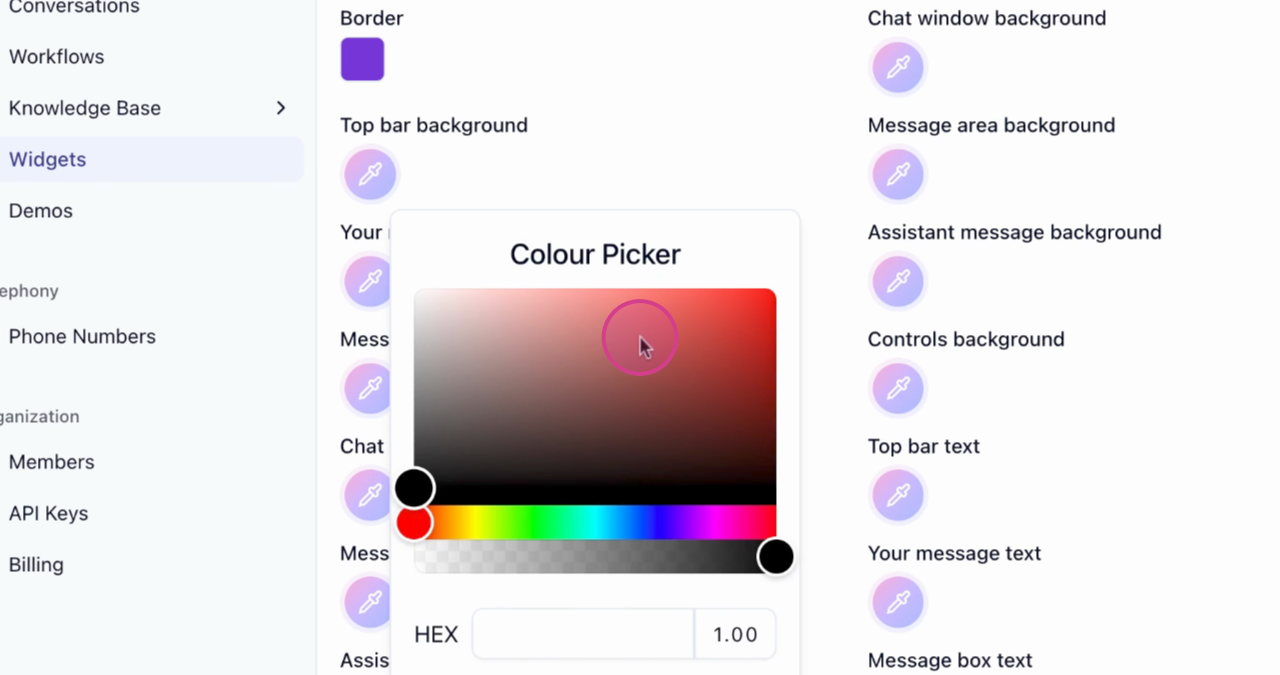
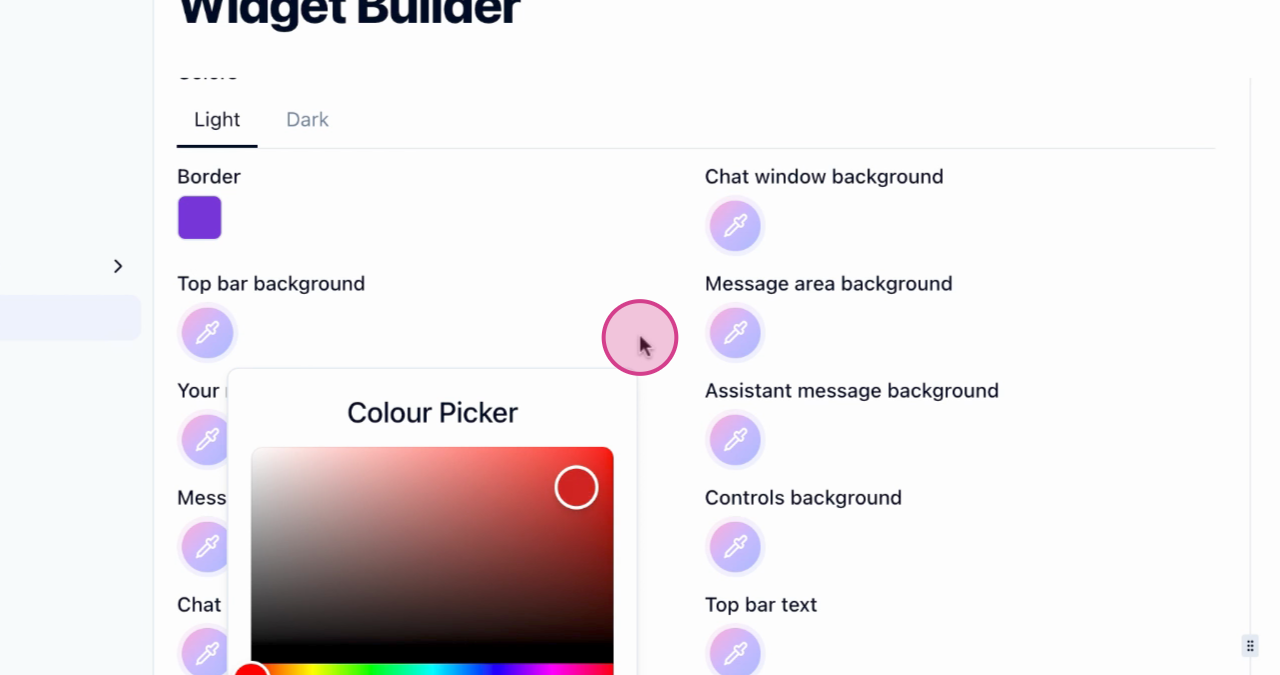
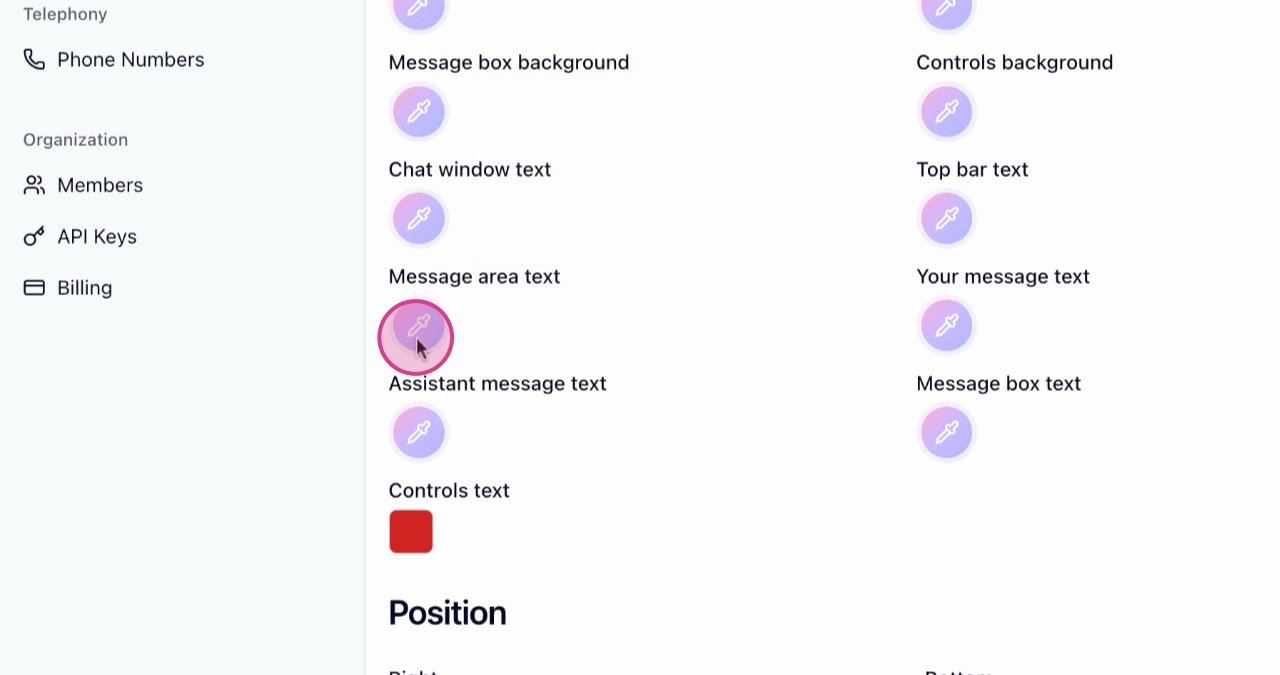
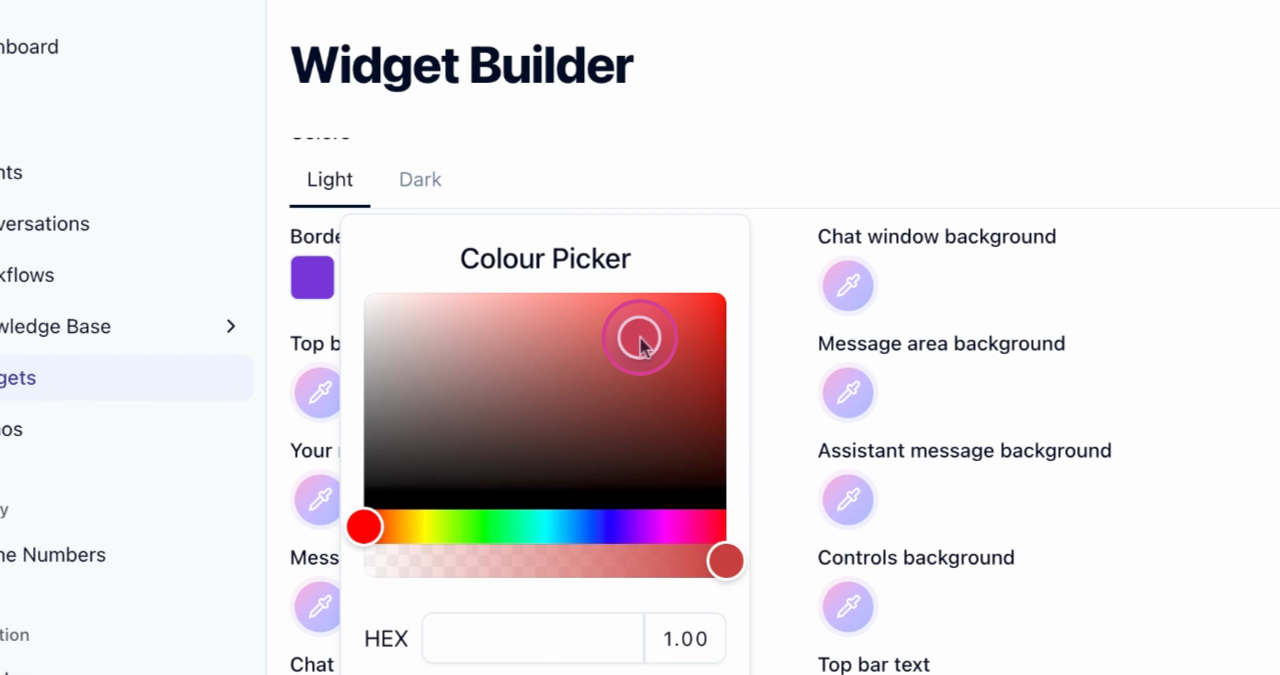
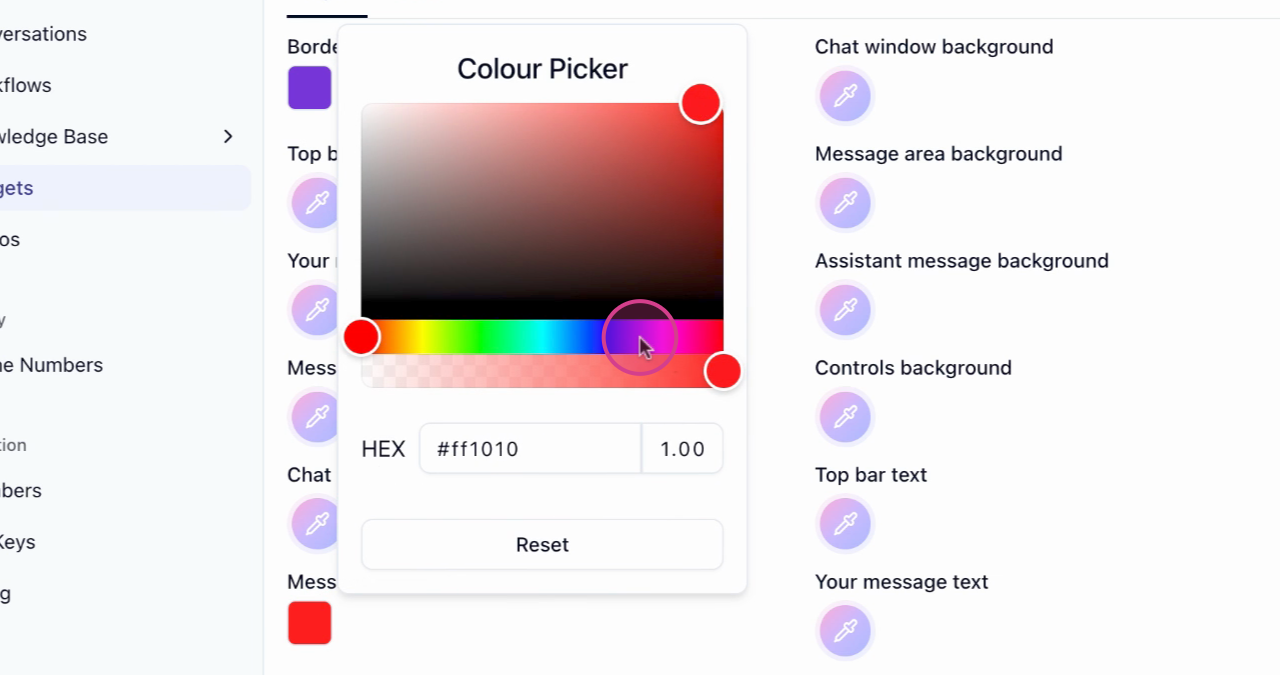
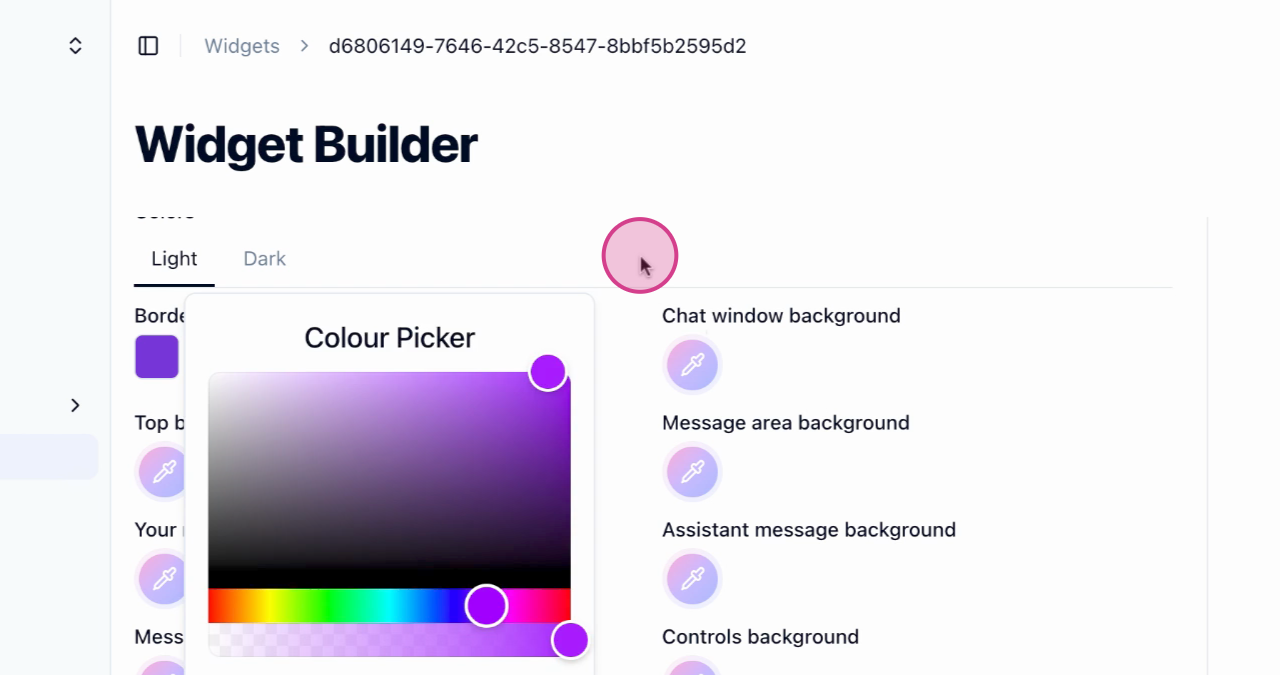
Customize Widget Colors
Customize the colors of your widget. This includes the border color and text color.
- 12
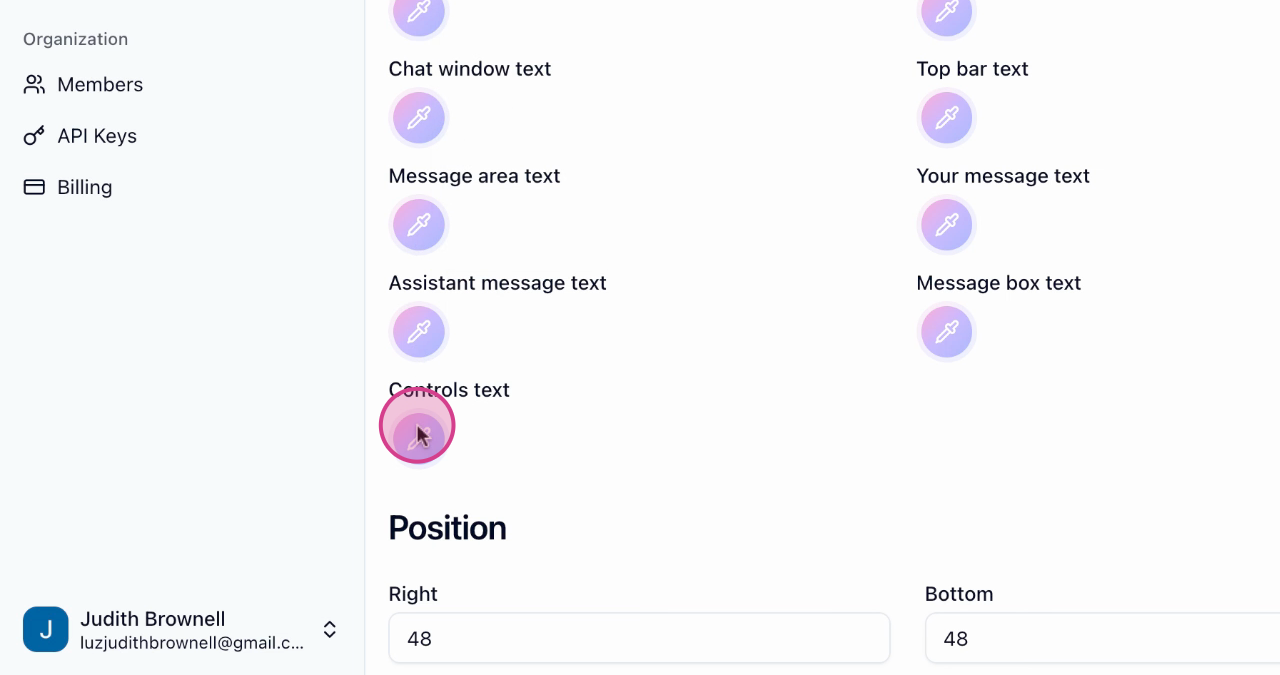
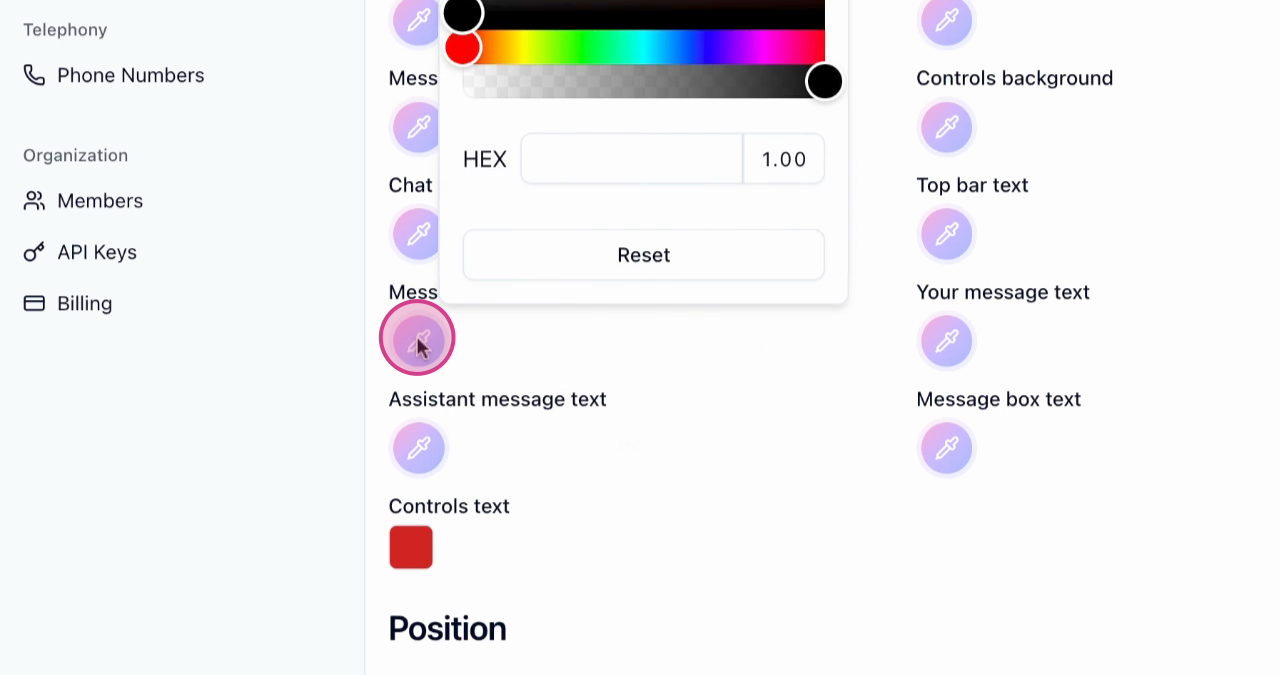
Customize Control Text
Customize the text within the controls.
- 13
Customize Message Area Color
Customize the message area color.
- 14
Customize Widget Button Position
Customize the position of the widget button. Save your changes and view the installation data.
- 15
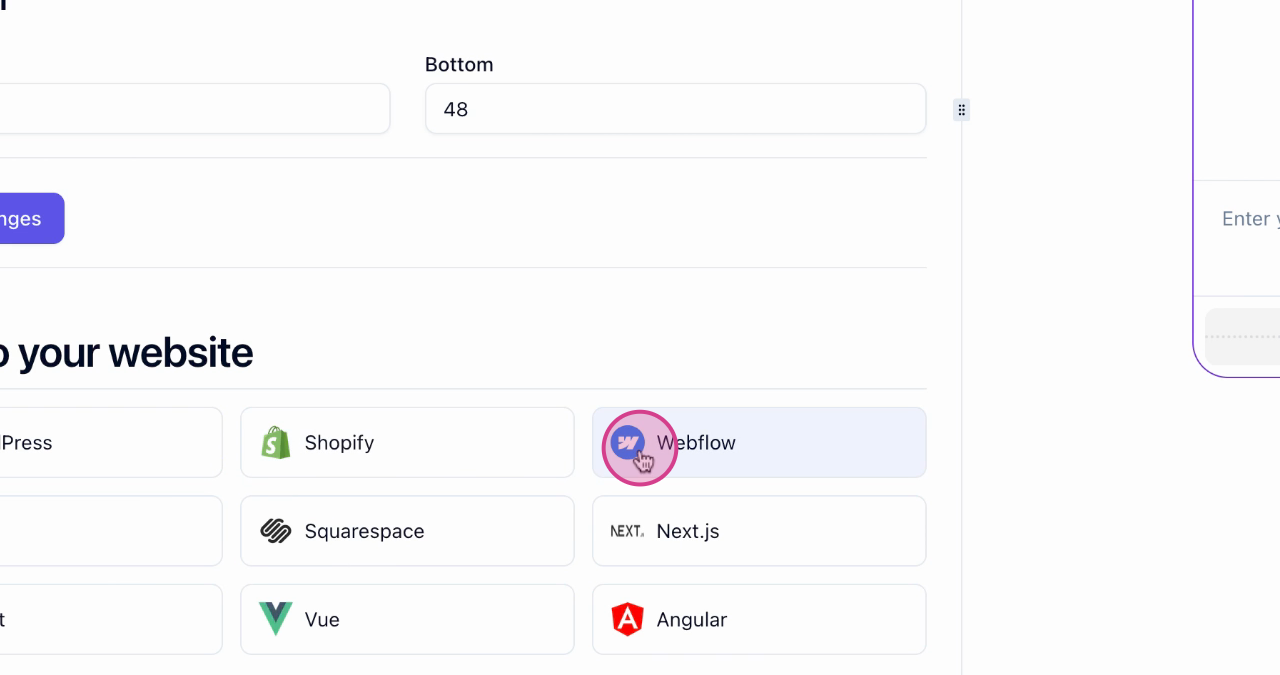
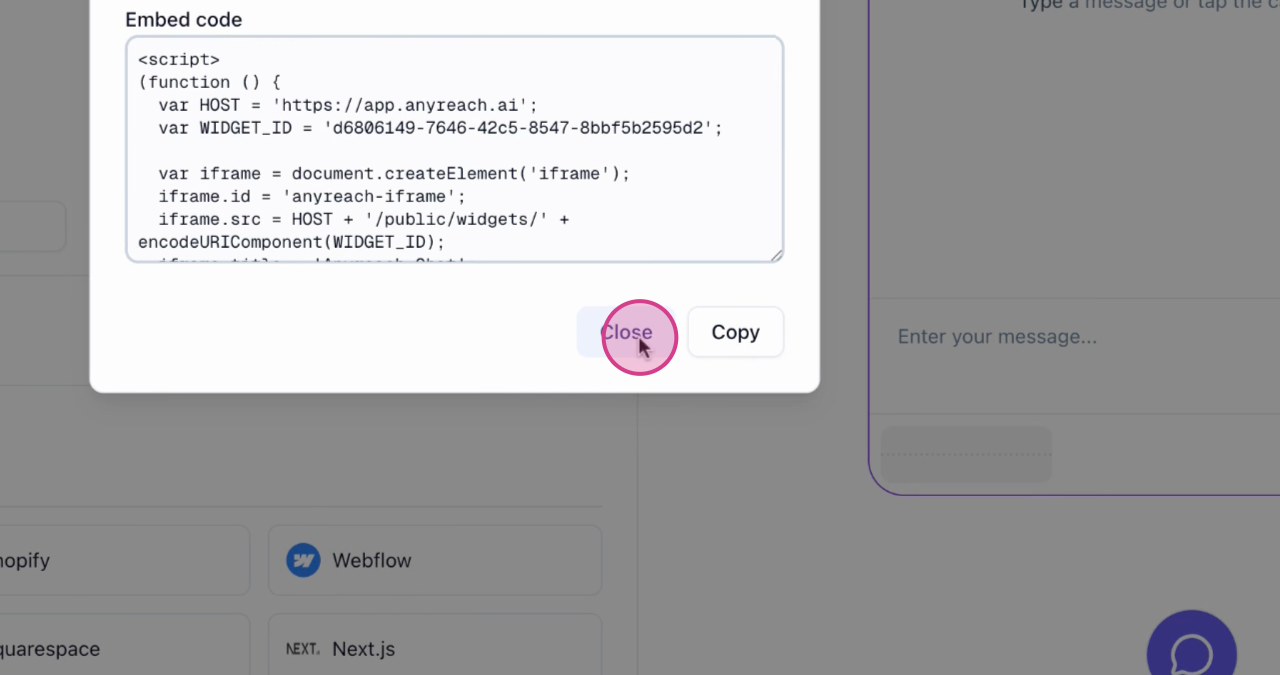
Access Widget Script Code
Select a webflow and access the script code for widget customization.
Save your changes frequently while customizing your widget to ensure you don't lose any customizations. You can always preview your changes before deploying to your website.
Next Steps
After customizing your widget:
Deploy Your Widget
Learn how to deploy your customized widget to your website
Monitor Conversations
Track and analyze conversations with your customized widget
Configure Your Agent
Fine-tune your agent settings to work with your widget
Advanced Customization
Explore advanced widget customization options and integrations