
Onboarding Process
Complete guide to finalizing your onboarding with Anyreach and setting up your first agent for lead qualification
Tutorial
In this article, you'll learn how to finalize the onboarding process with Anyreach. By the end, you'll have a fully configured agent for lead qualification and a customized widget for your website.
Steps
- 1
Enter Your Company Website
Start by entering your company website. If your email has a company domain, it'll be automatically grabbed.
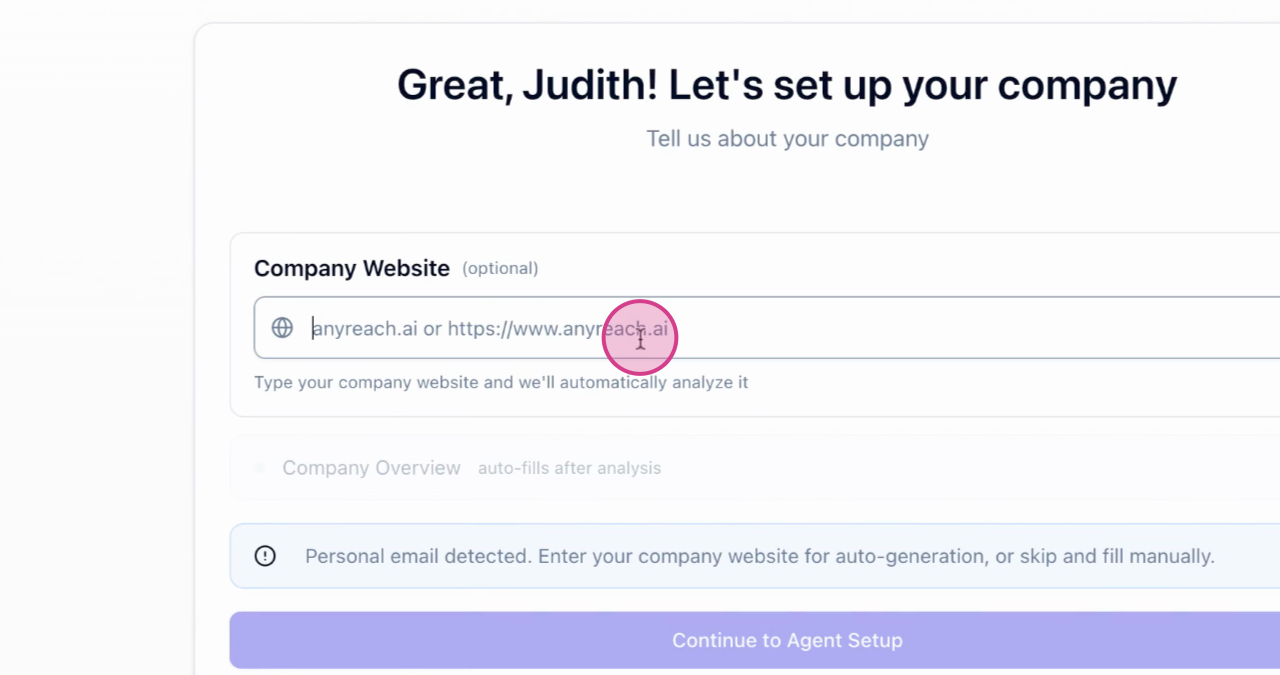
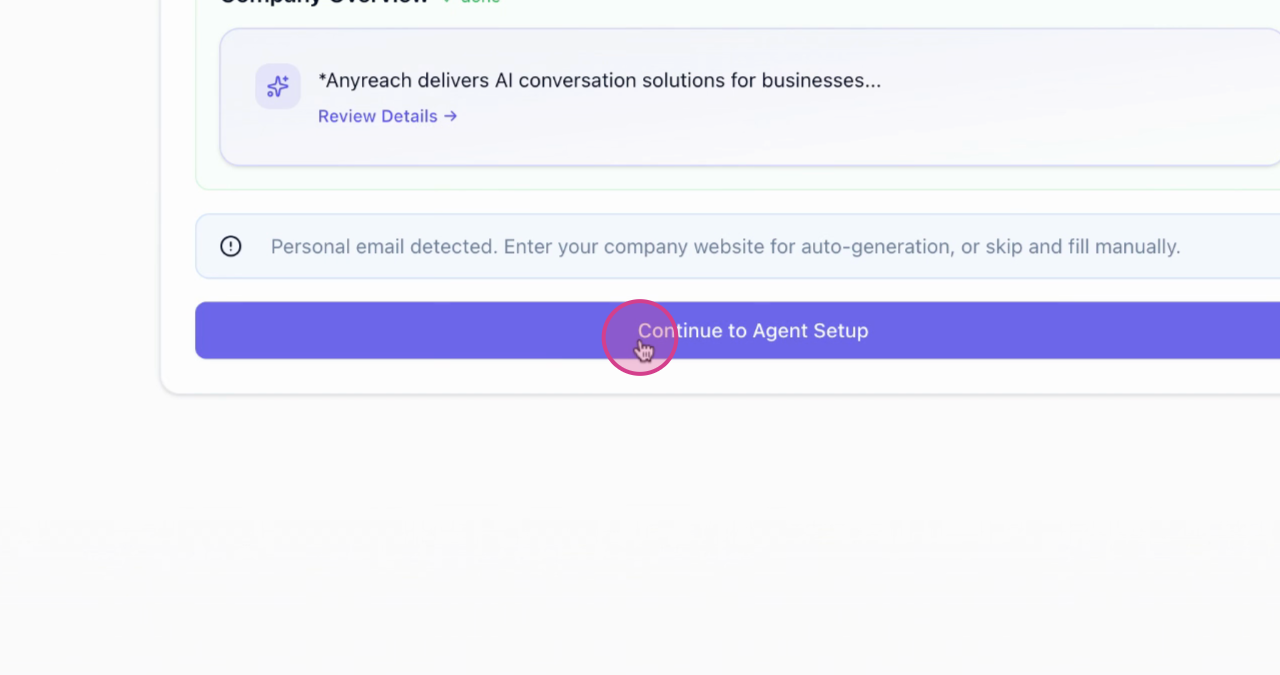
If not, manually enter it. We'll then analyze your website to gather company information. Review and edit any details as needed.
- 2
Agent Setup
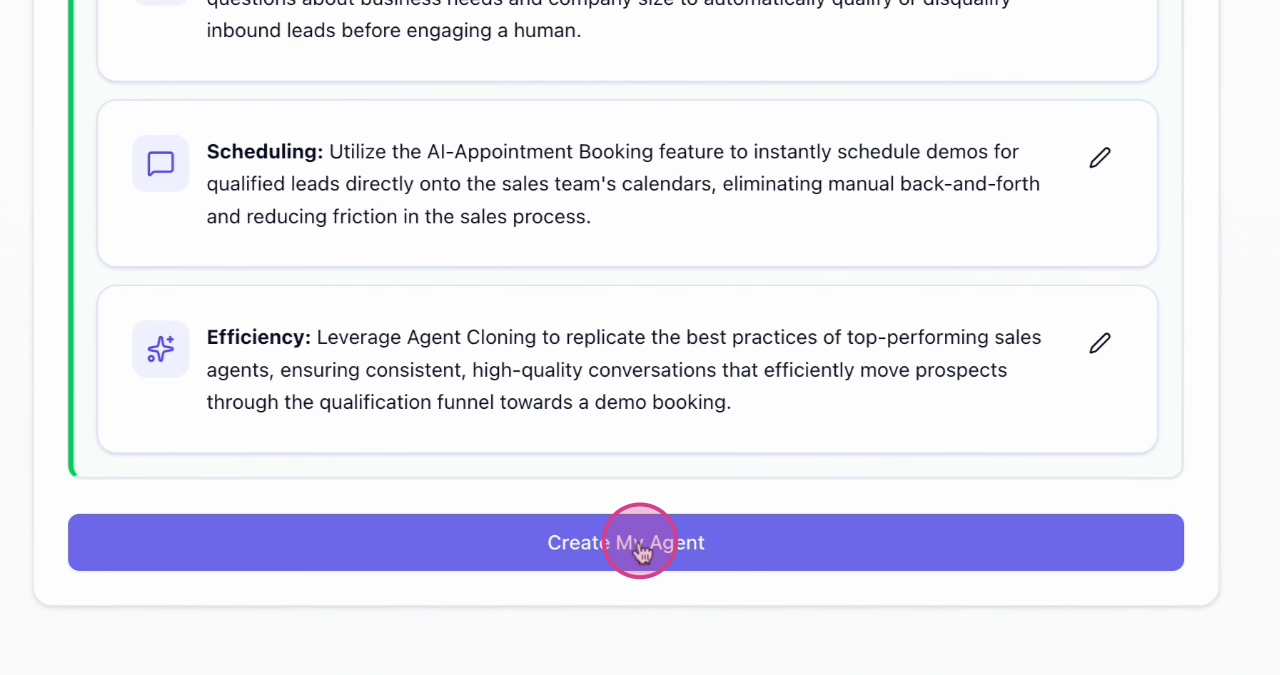
Proceed to agent setup. Here, we'll analyze the website, role overview, and goal for your agent. We'll configure an agent for lead qualification, which will gather information from leads visiting your site and assist them in booking a demo or appointment.
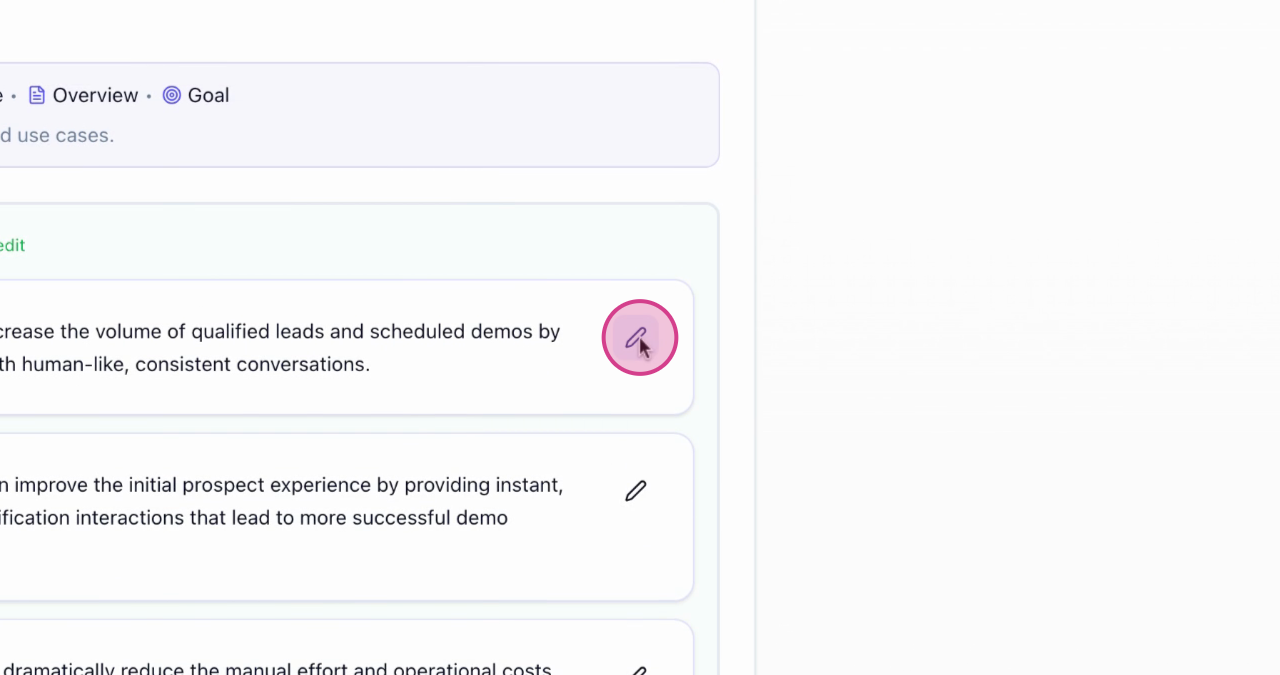
Edit any information by clicking on the edit button, make modifications, and click save. If everything looks fine,
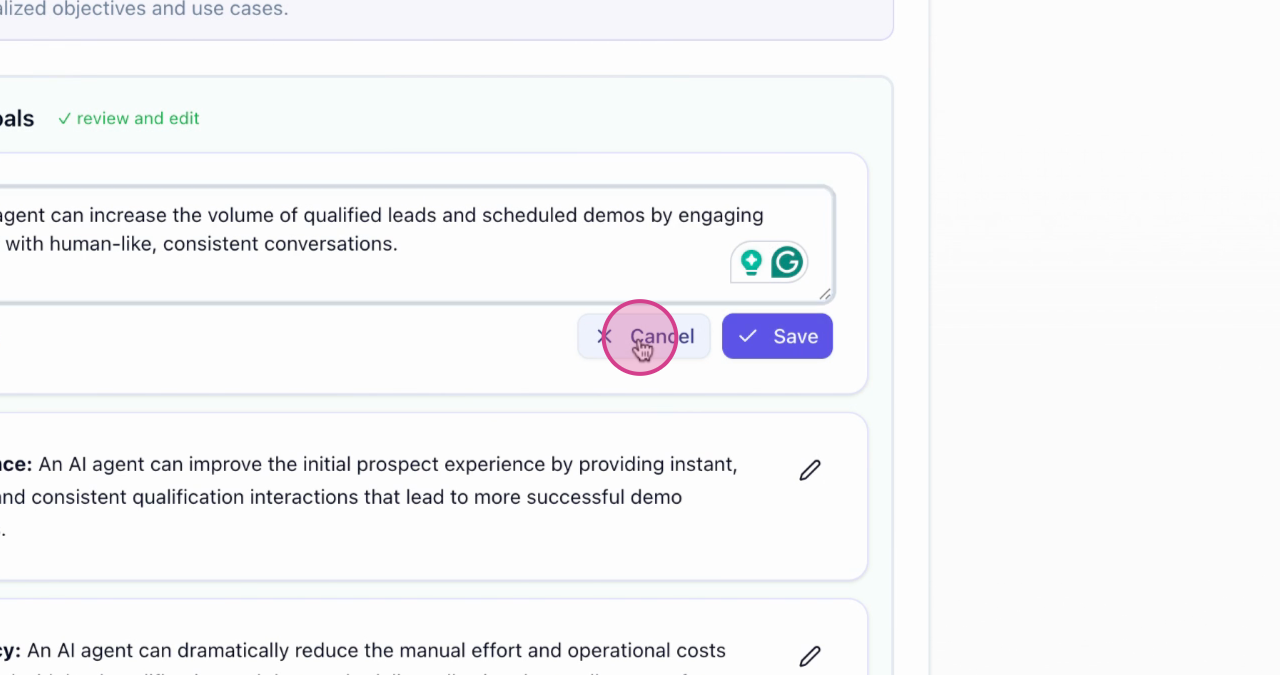
press cancel and create your agent.
- 3
Meet Luna
Wait for the loading process to create your agent. Once that's done, you'll meet Luna, our agent designed to qualify leads and book demos. Luna is multilingual, memory-aware, and always ready to provide instant responses. She's also self-improving, learning from interactions to enhance her responses.
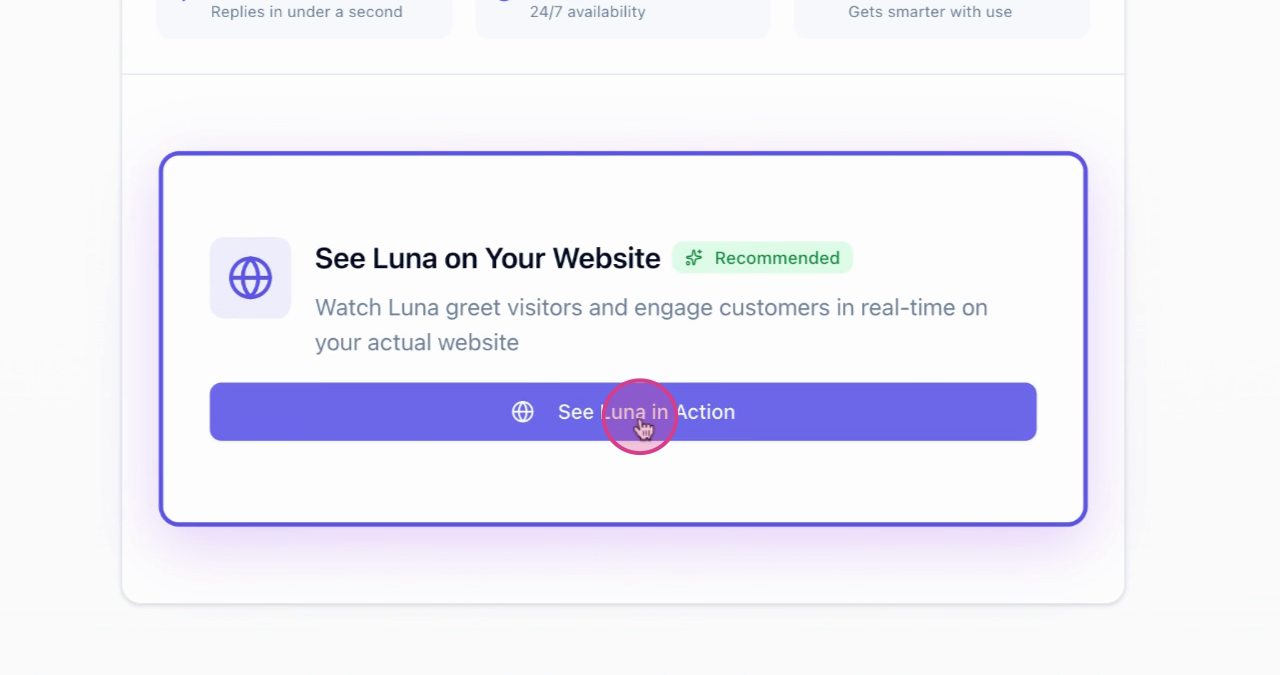
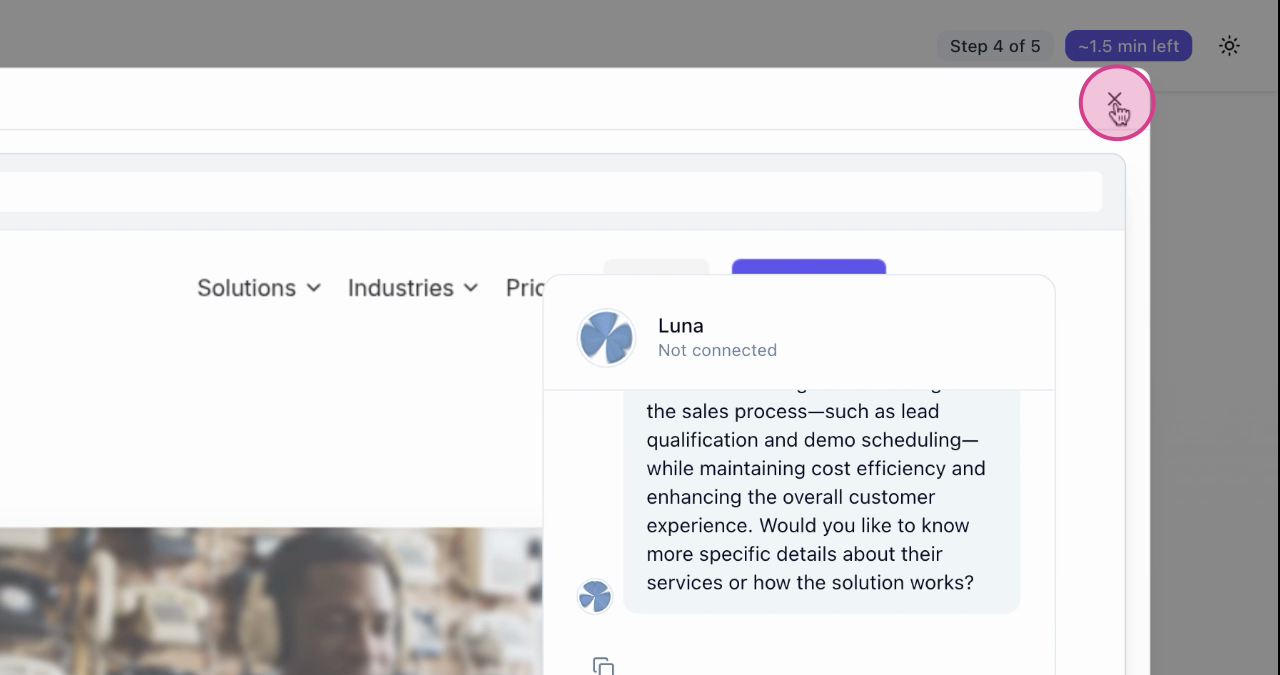
To see Luna in action, click on See Luna in action. You'll see a preview of your website with the widget installed, where you can start a conversation with Luna.
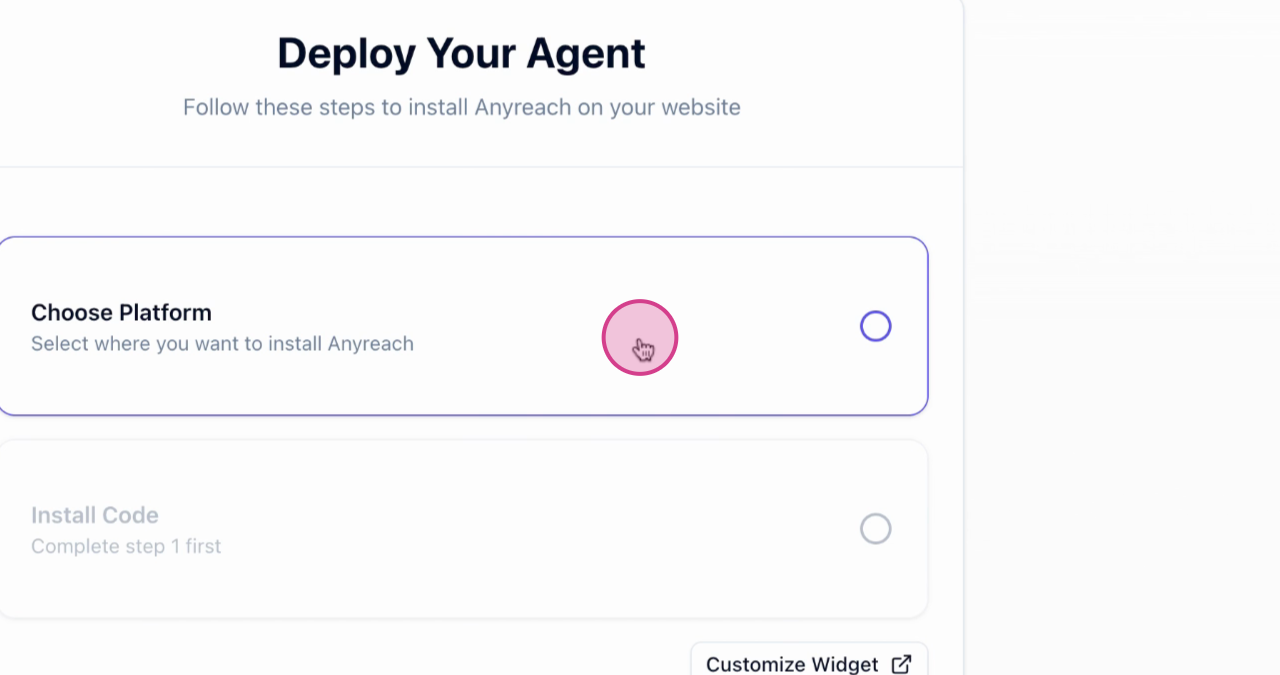
- 4
Deploy to Your Website
Once you're satisfied, finalize the setup. You can either test it again or proceed to customize your widget.
Click on deploy to website.
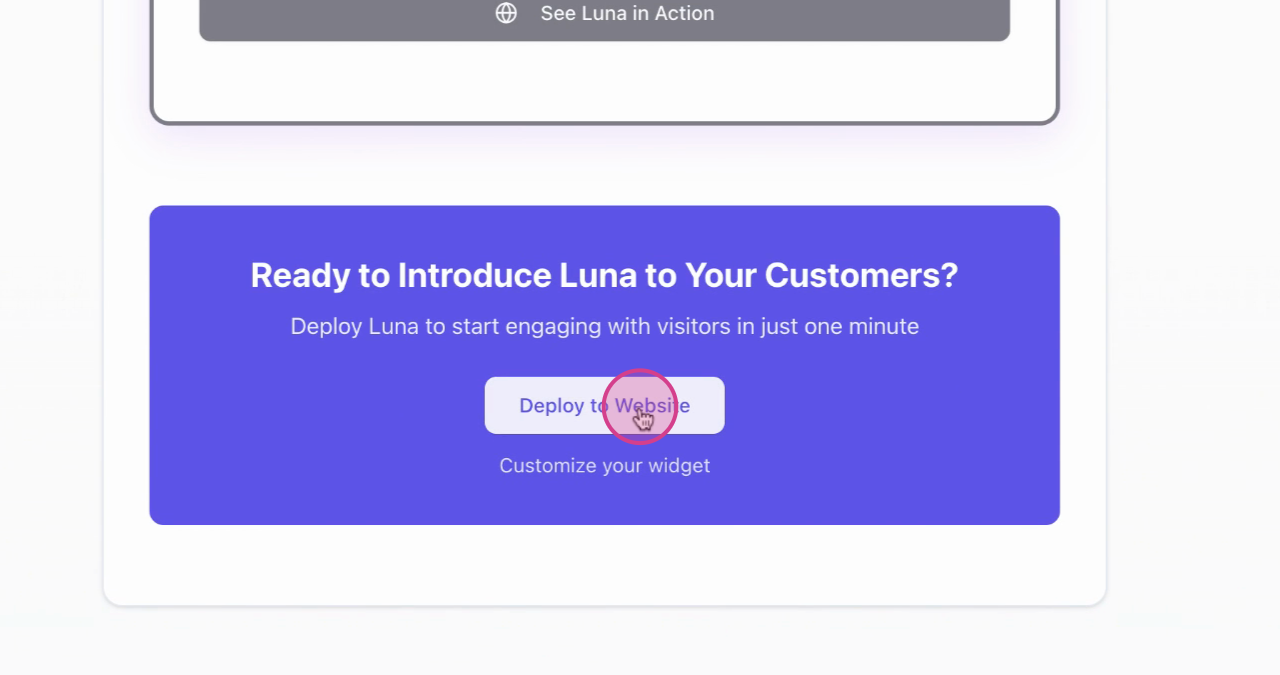
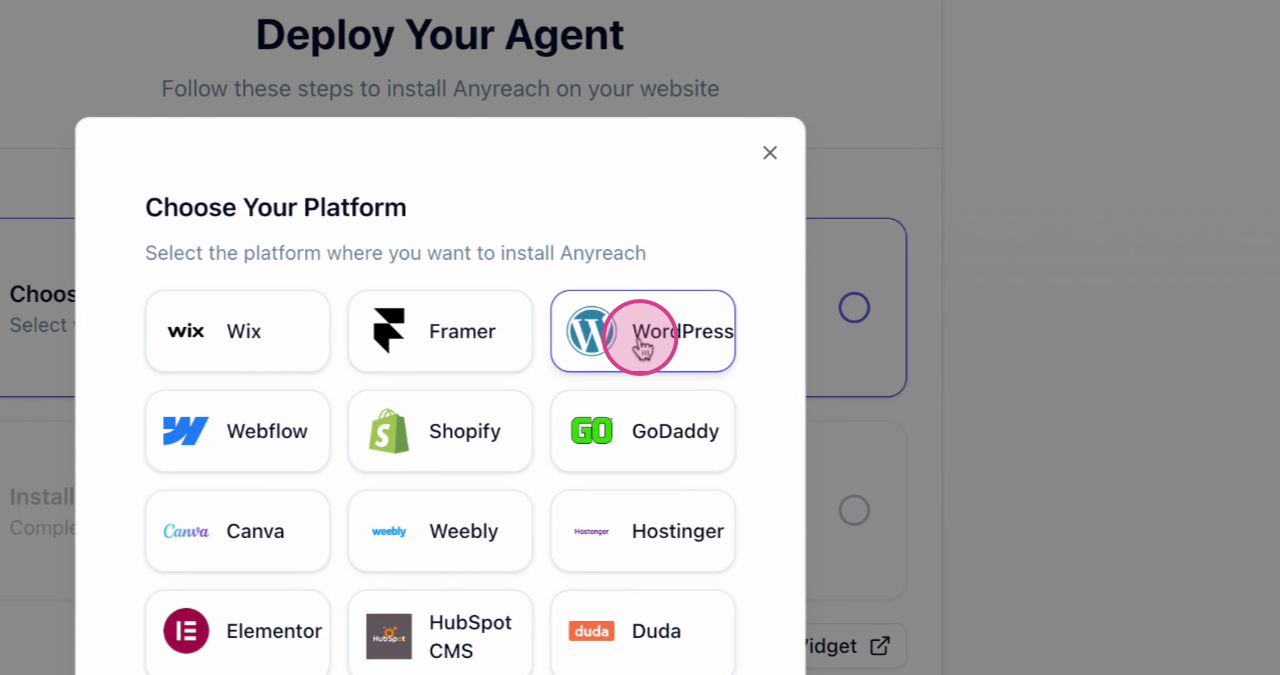
Choose a platform for deployment.
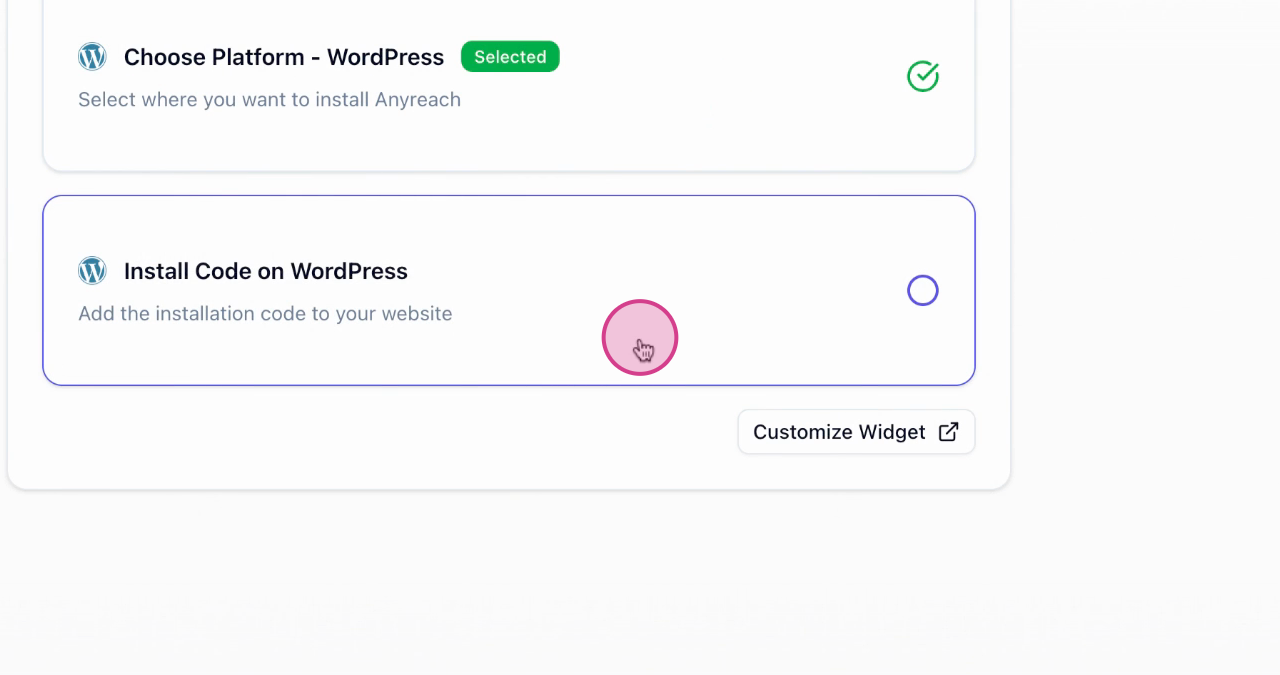
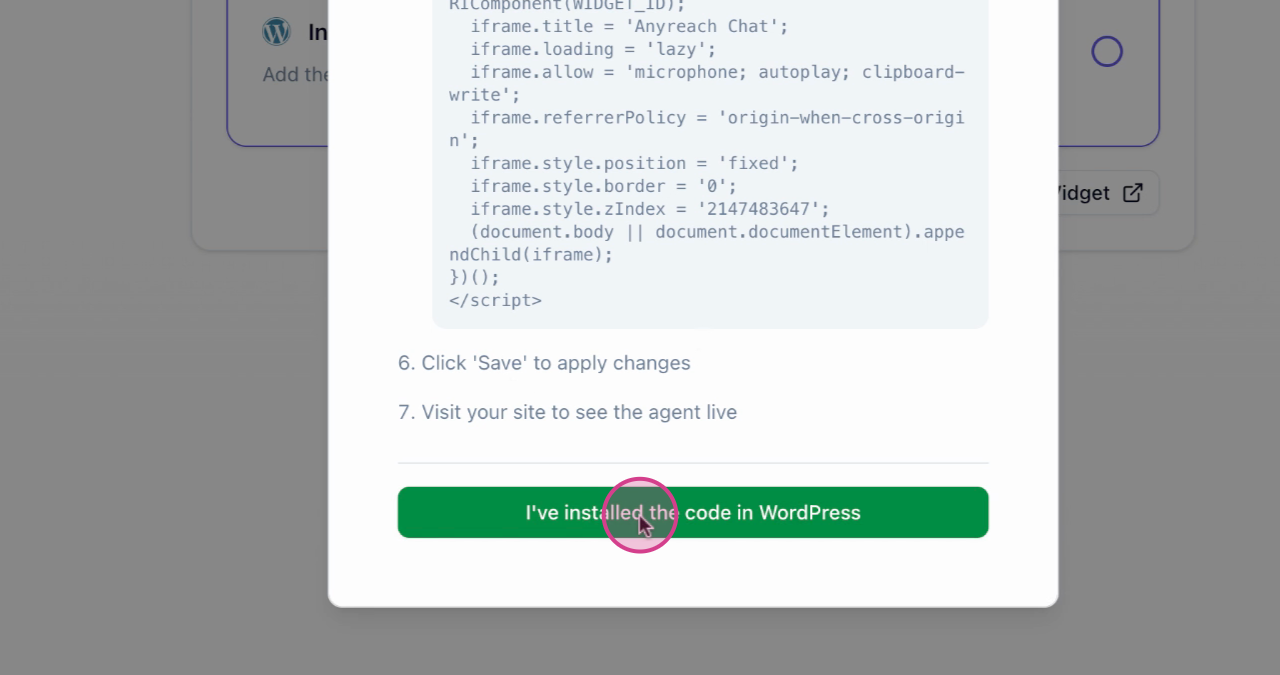
For instance, if you choose WordPress,
you'll see the code and installation instructions. Follow the instructions,
copy the code for installation, and save it into your site. Once ready, click
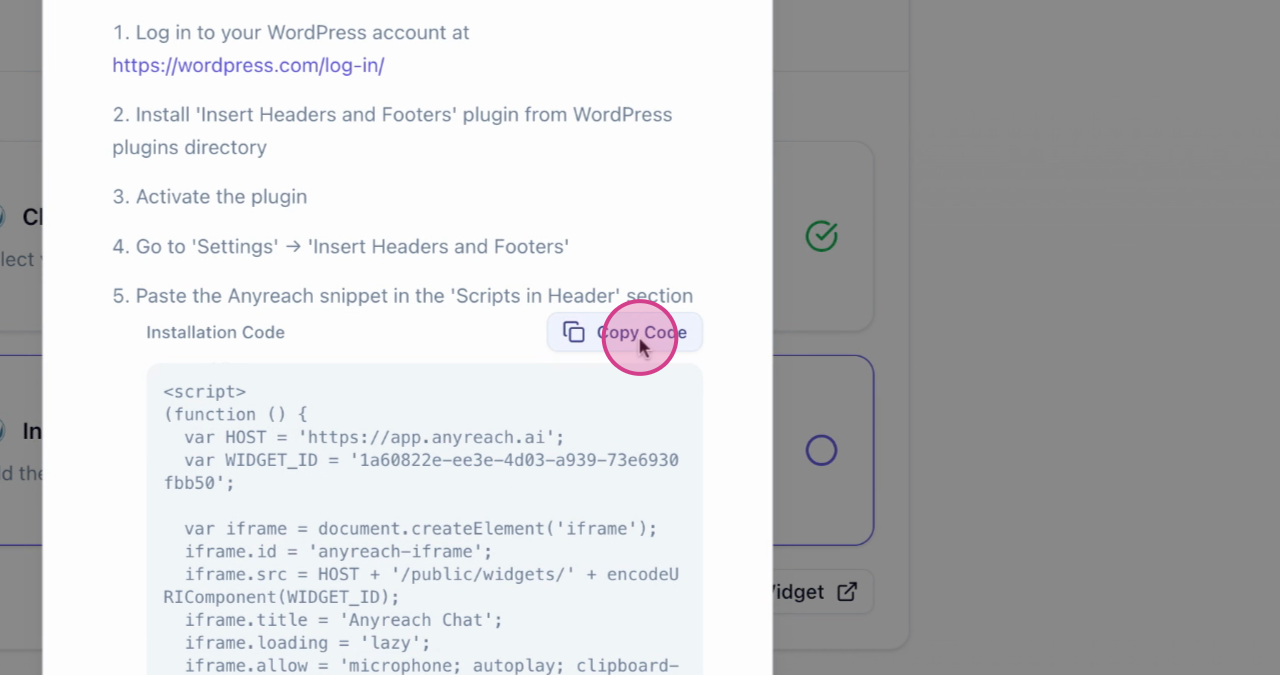
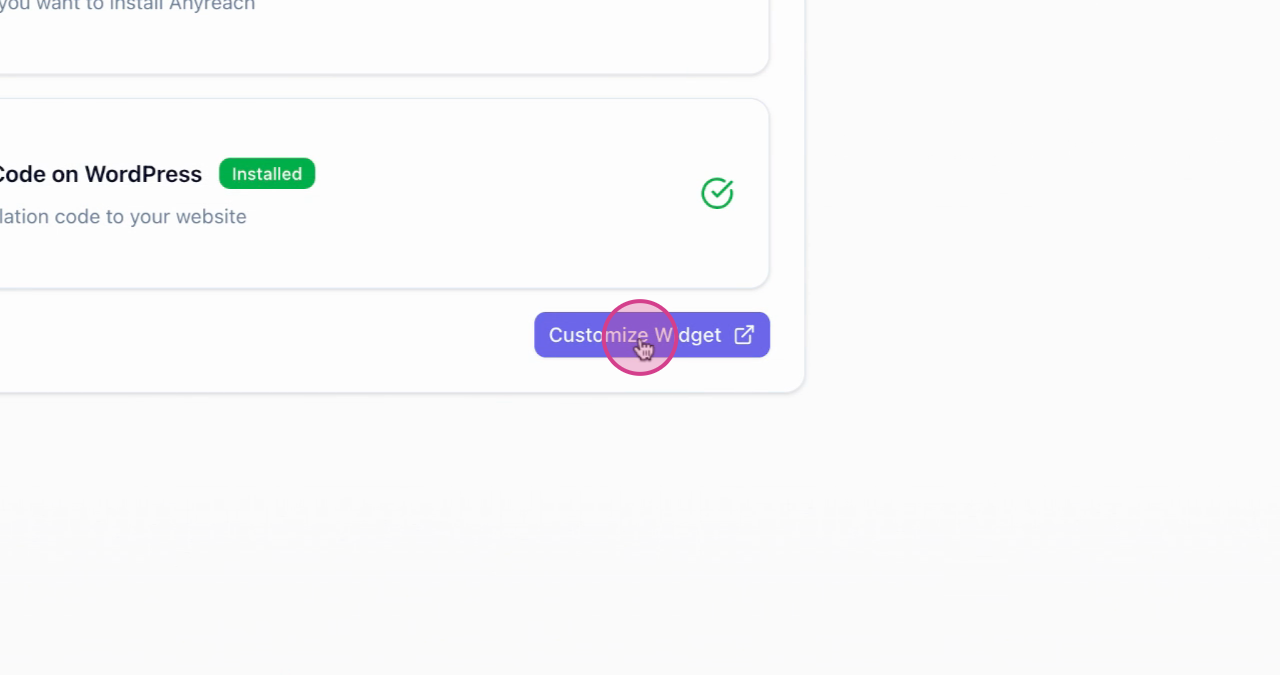
on the green button.
Finally, you can customize the widget. There are various customization options to choose from, which will be covered in another tutorial.
Luna is designed to be multilingual, memory-aware, and self-improving. She learns from each interaction to provide better responses over time.
Next Steps
After completing the onboarding process:
Customize Your Widget
Learn about all the customization options available for your widget
Monitor Conversations
Track and analyze conversations with Luna to improve performance
Configure Your Agent
Fine-tune Luna's settings and capabilities
Build Workflows
Create automated workflows to enhance Luna's capabilities